This post may contain paid links. If you make a purchase through links on our site, we may earn a commission.
Learn the quickest, easiest methods for How to Devein and Peel Shrimp following my easy step-by-step guide! No special tools required. All you need is a sharp knife or a pair of kitchen shears, and your own two hands!
Jump to:
- Do you peel shrimp before or after cooking?
- Steps for Shelling Shrimp
- How to Peel and Devein Shrimp
- How do you stop shrimp from curling?
- Seafood Recipes
- Easy Shrimp Recipes
- Tips for How To Deshell Shrimp
- What can I do with shrimp shells?
- Storing Peeled Shrimp
- How to Clean Shrimp FAQ
- Pin it for later!
- Recipe
- Reviews
Growing up in Portugal meant my childhood was spent feasting on delicious shrimp dishes! Living so close to the coast meant fresh-caught shrimp was never far away, and I spent more evenings than I can count sitting next to my grandmother by the kitchen sink, helping her peel shrimp for dinner.
Moving to Florida was a big change in almost every way, but not when it comes to shrimp! I’m still only a short drive from the docks, and I am grateful for it. I brought my favorite Portuguese recipes with me like Shrimp Empanadas, and love introducing my friends to the flavors of my childhood.
But I also learned early on that not everyone grew up peeling shrimp. That’s where this guide on how to clean shrimp comes in! With my handy and home-tested guide on how to shell and devein shrimp, you’ll be ready to cook in no time!
Do you peel shrimp before or after cooking?
In cooking circles, there’s a bit of back and forth between if shrimp should be peeled before or after it’s cooked. In my opinion, it’s entirely based on how you wish to serve it!
Peeling shrimp before cooking it can make eating it a lot easier, without needing to stop and peel each shrimp before eating it. It also makes seasoning the meat easier and removing the vein possible at all! However, it can lead to easier overcooking and a drier texture.
Peeling the shrimp after cooking it can bring out more of the shrimp’s natural flavor that gets stored in the shell. It also results in more tender, juicy shrimp, as the juices are locked in while cooking. However, the shell blocks seasonings, so shrimp cooked this way needs to be seasoned afterwards. Also, it’s a bit of a pain to peel the shrimp during the meal.
Steps for Shelling Shrimp
- Peeling: If your shrimp aren’t peeled and still have the legs and shell attached, you’ll need to peel it off first. Some shrimp come with the head on, as well, which can be twisted off.
- Deveining: This refers to cutting out the digestive tract of the shrimp, which runs from the head down to near the tail. While edible, it can have a pretty gritty texture and unpleasant taste.
How to Peel and Devein Shrimp
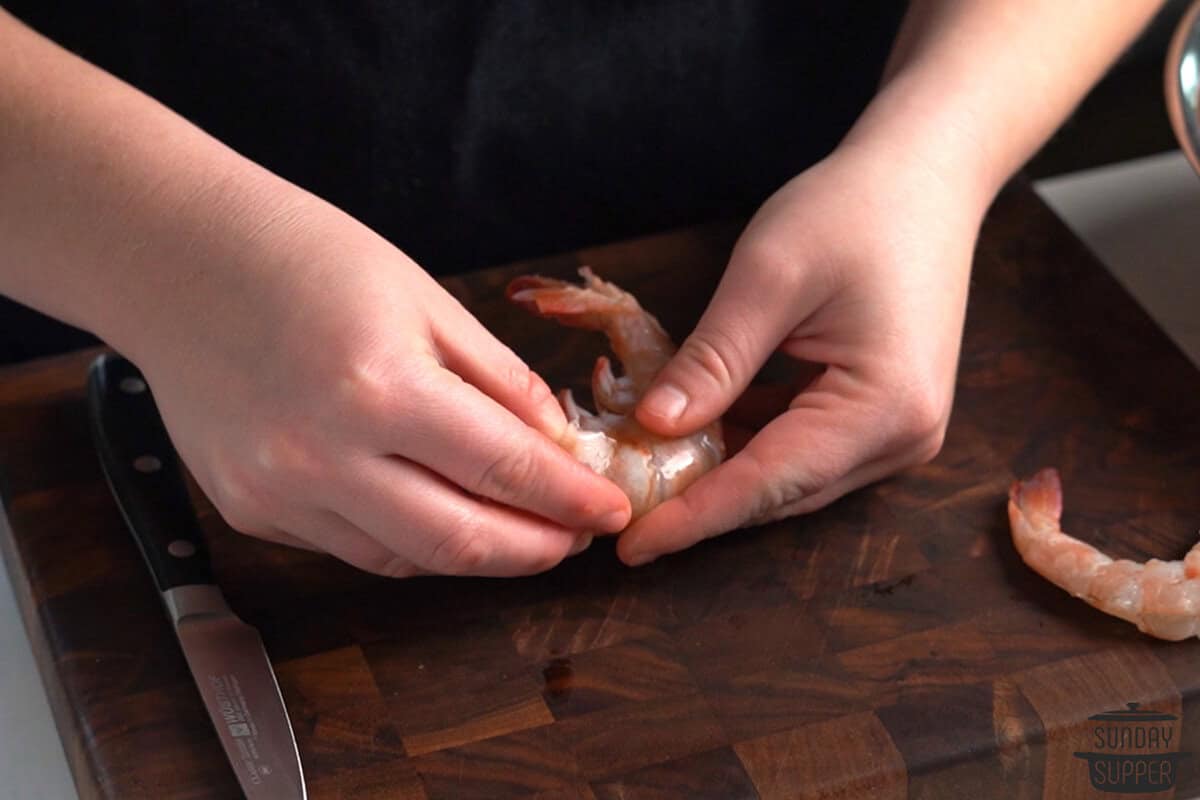
1: Crack the Shell
If the head is still attached, pinch it and twist it off, and set it aside for stock. Using your thumb, slide your nail under the shell near the front of the shrimp, and slide down to crack it open along the underside.
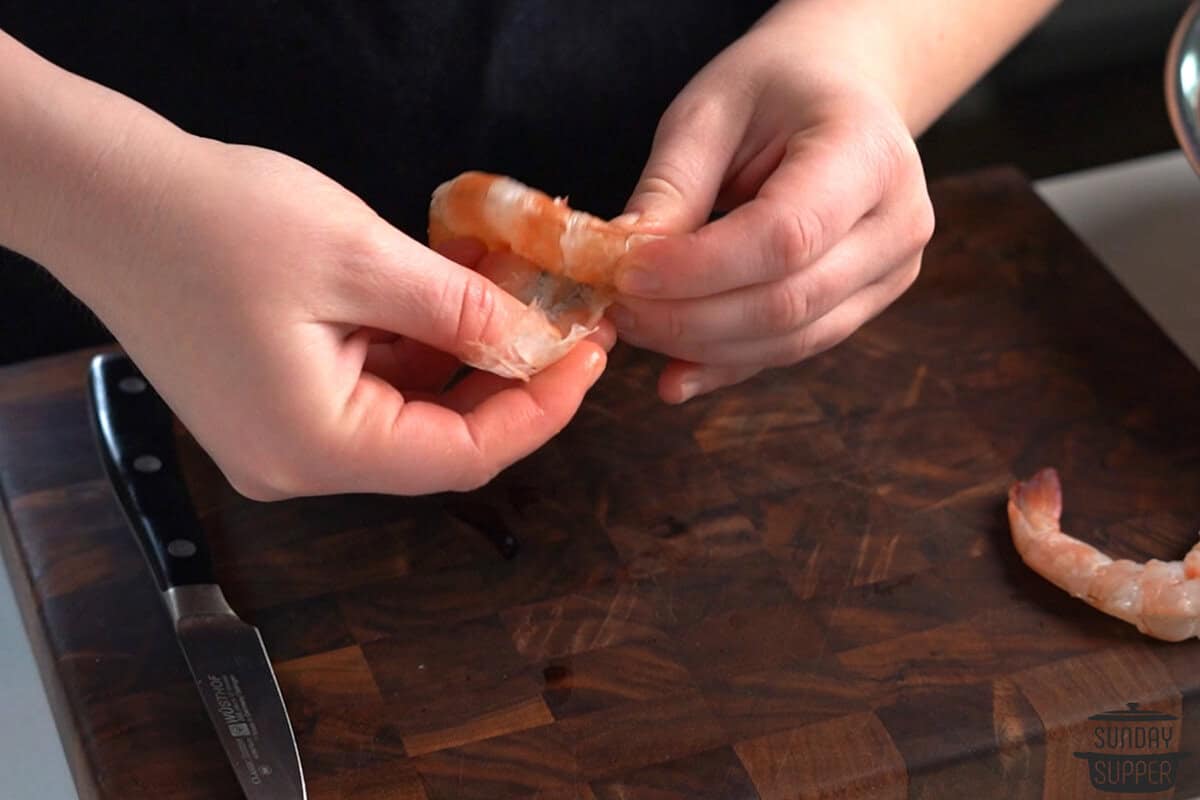
2: Peel Back
Press your thumb further along the shell to peel back the rest of the shell. The legs should come off with it, too; if not, they can easily be plucked off.
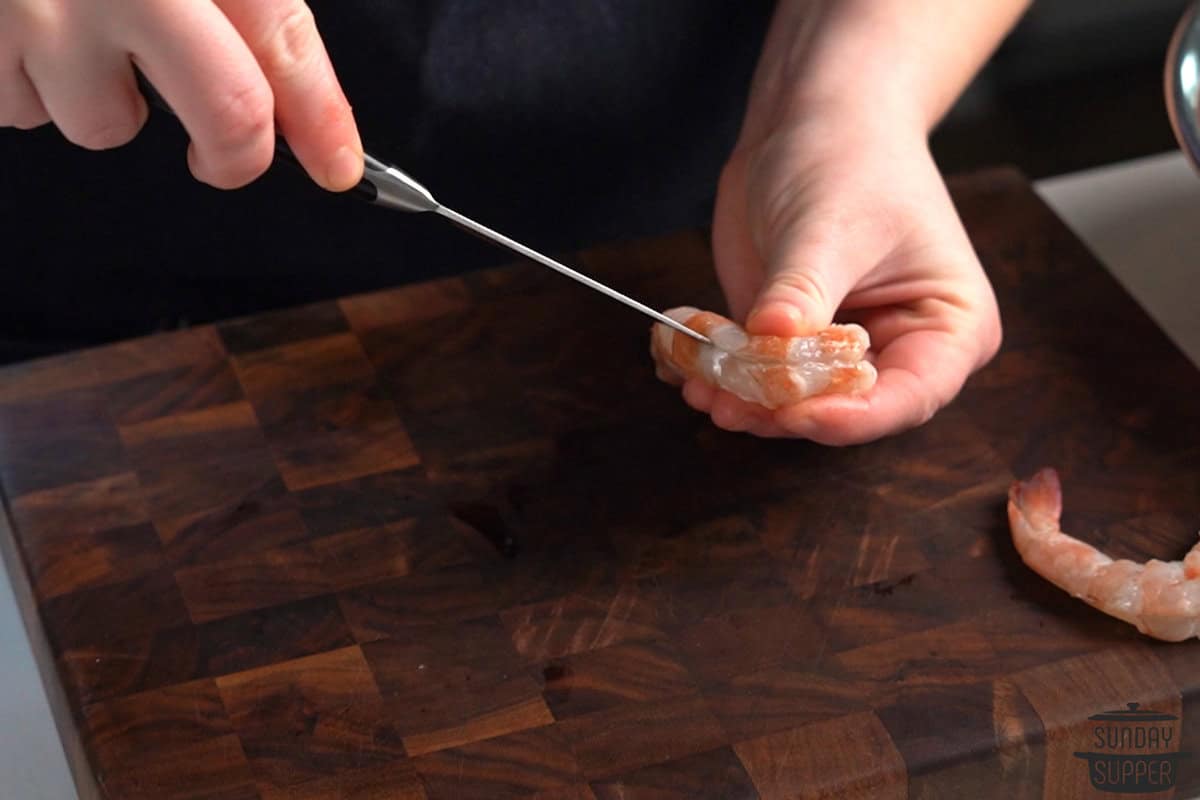
3: Slice Open
Using a sharp paring knife, carefully slice a very shallow slit along the top back of the shrimp to expose the black vein.
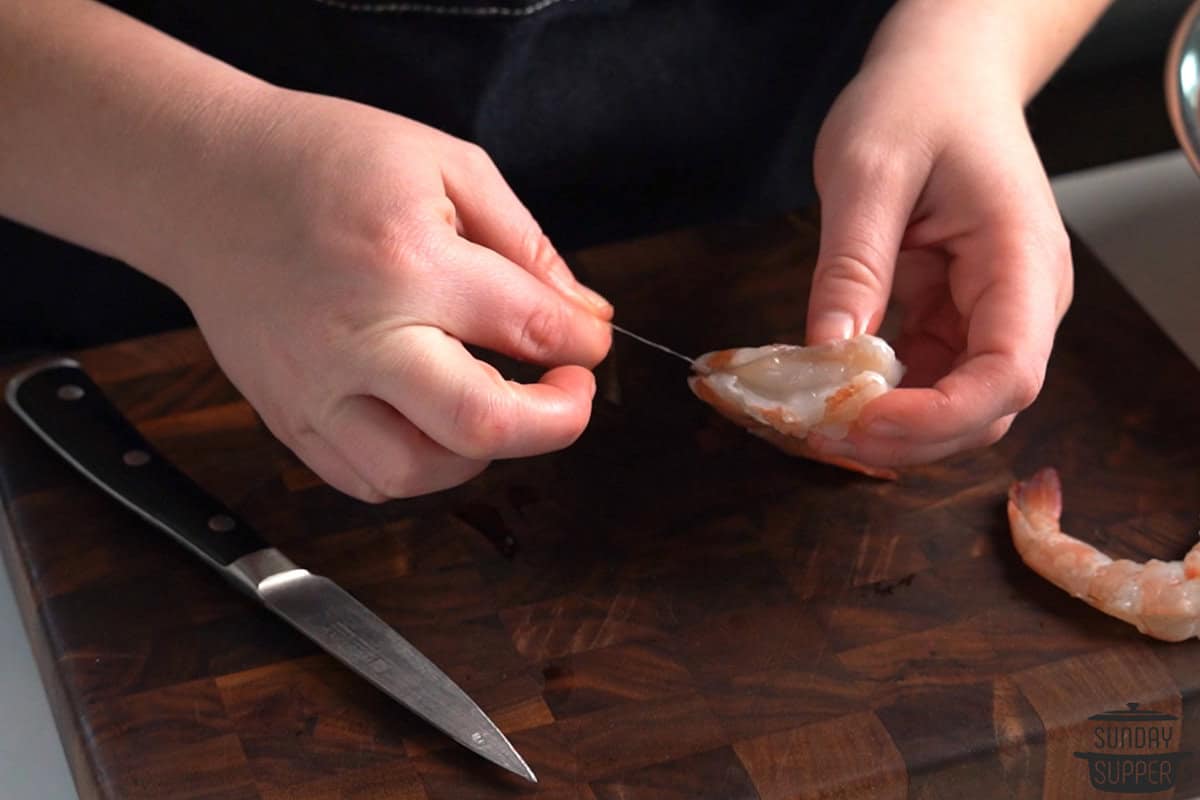
4: De-vein the Shrimp
Using a fork or your index finger, pull out the dark vein along the body of the shrimp. You can also use a toothpick.
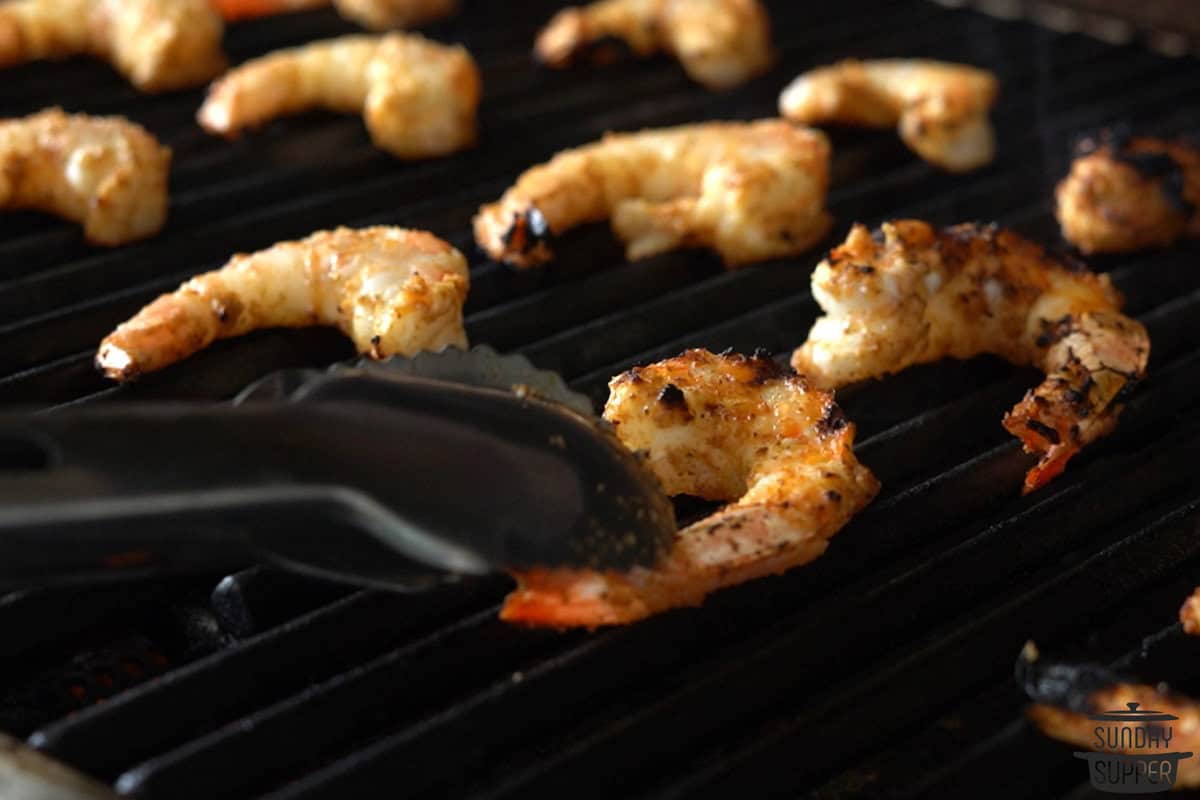
5: Cook and enjoy!
You can slice off the hard end of the tail if you prefer. I like to leave it on to serve as a handle, but it’s a matter of personal preference. Then cook, serve, and enjoy! Check out all my great shrimp recipes listed below for some ideas on where to start!
How do you stop shrimp from curling?
You can keep shrimp from curling up while cooking by slicing two shallow horizontal lines across the underside of the shrimp. These will release the muscle tendons, and result in uncurled shrimp! Learning how to keep shrimp from curling can make it easier to cook battered or fried shrimp dishes!
Seafood Recipes
Easy Shrimp Recipes
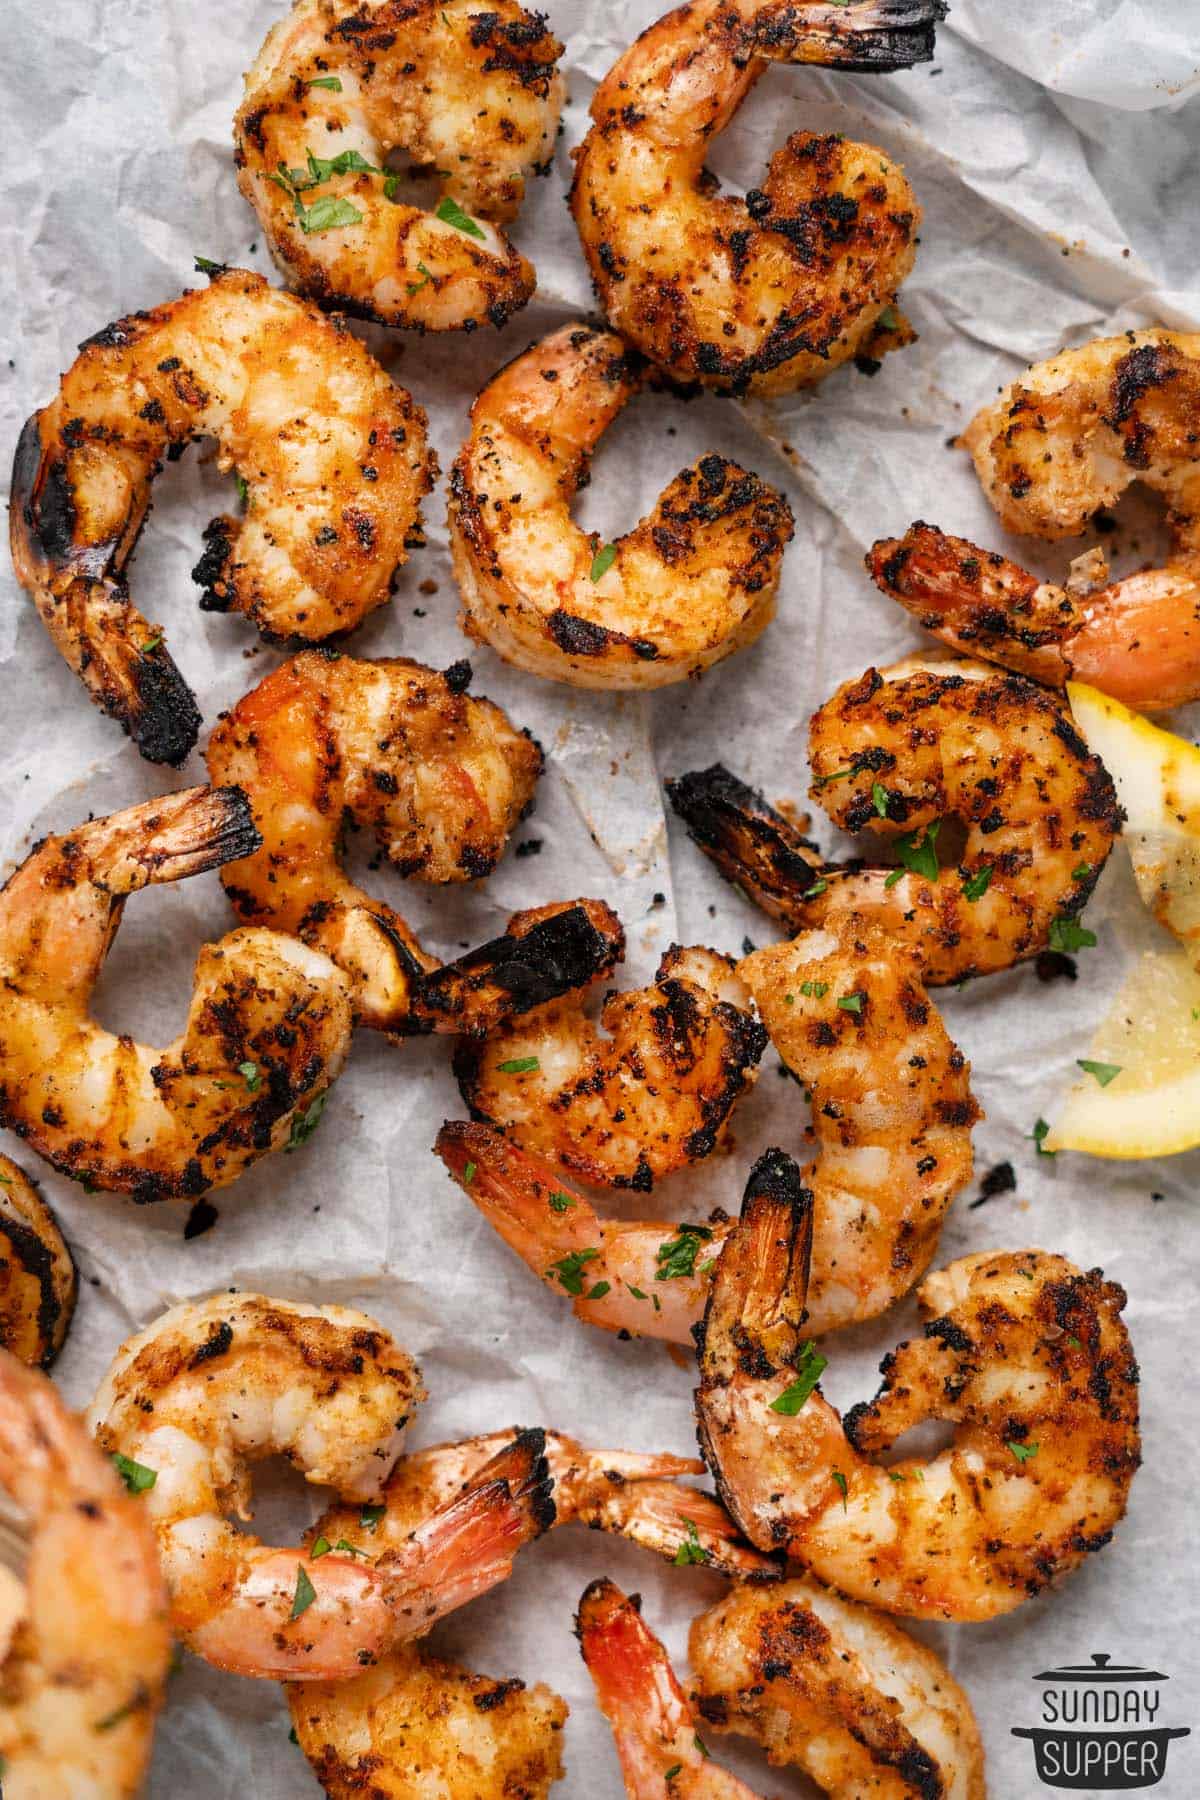
- Grilled Shrimp – A summer favorite, loaded with flavor and the perfect char!
- Shrimp Scampi – Luxurious shrimp linguini in 20 minutes!
- Shrimp Cucumber Canapes – A light, refreshing appetizer perfect for parties or a summer day with the family!
- Shrimp Bisque – The perfect soup to make with leftover shrimp shells.
- Chinese Dragon Prawns – A reader favorite! Crispy, sweet, and delicious!
Tips for How To Deshell Shrimp
- When you’re using particularly small shrimp, you can skip de-veining them. However, I recommend removing the tails of very small shrimp.
- If you don’t like touching the shell or legs (hey, I get it!), you can use a spoon instead of your thumb to remove the shell. Alternatively, you can use kitchen sheers or scissors to cut the shell open.
- You can slice off the tail entirely, or leave it on. For larger shrimp, I like leaving the tail on to use as a handle.
- Shrimp that have been frozen and thawed can sometimes be soggy and soft, making it hard to remove the shell. For these cases, try popping them back in the freezer for 30 minutes to 1 hour to slightly harden the flesh.
- The shrimp waiting to be shelled should be kept in a bowl of cold water to ensure they don’t warm up too much; peeling shrimp can be a time consuming process!
What can I do with shrimp shells?
Save the shells! Rinse them well and place them in a plastic bag to freeze. The shells are packed with flavor, and can be used to make your own homemade shellfish stock using the same steps as my lobster stock recipe! I like getting shrimp with the shells on just to make seafood stock with them, it’s that good.
Storing Peeled Shrimp
To save on time, you can always peel shrimp ahead of time! I like to peel shrimp for the next day’s meal ahead of time to make my life a little easier. To do so, just peel the shrimp and place them in an airtight container with a layer of paper towel at the bottom to catch moisture. Then place them in the fridge for up to 48 hours.
How to Clean Shrimp FAQ
Technically, no, and the veins can be practically impossible to remove on smaller shrimp. However, in larger varieties of shrimp, the vein can carry large particles that are both gritty and unpleasant in texture, so I recommend removing them.
If you purchase “ready to cook” varieties of shrimp from the store, they will likely already be cleaned! These are often sold as “peeled deveined shrimp”, salad shrimp, or cocktail shrimp, and are usually frozen. However, fresh or whole shrimp will need to be shelled; even the tiny ones.
The dark colored vein in a shrimp is actually the shrimp’s digestive tract! It tends to be filled with grit and can easily be removed by slicing a small slit at the back of the shrimp and pulling it out with a toothpick or just your hands.
This is entirely up to you! Shelling shrimp before cooking them makes the dining experience a whole lot easier, but it also means that the shrimp can overcook much faster. Above, I’ve included a list of all the pros and cons!
Pin it for later!
Did you enjoy this page? Save it on Pinterest for later!If you enjoyed the recipe, leave a comment and a rating below!
Recipe
How to Peel and Devein Shrimp
Equipment
- Fork optional
- Bowl of cold water
Ingredients
- Shrimp whole with shell
Instructions
- If the head is still attached, pinch it and twist it off, and set it aside for stock. Using your thumb, slide your nail under the shell near the front of the shrimp, and slide down to crack it open along the underside.Shrimp
- Press your thumb further along the shell to peel back the rest of the shell. It should take off the legs with it; if not, they can be easily plucked off.
- Using a sharp paring knife, slice a very shallow slit along the top back of the shrimp to expose the black vein.
- Using a fork or your index finger, pull out the dark vein along the body of the shrimp. You can also use a toothpick.
- You can slice off the hard end of the tail if you desire- I like to leave it on to serve as a handle, but it's a matter of personal preference. Then cook, serve, and enjoy! Check out all my great shrimp recipes listed below for some ideas on where to start!
Video
Notes
-
- When you’re using particularly small shrimp, you can skip de-veining them. However, I recommend removing the tails of very small shrimp.
-
- If you don’t like touching the shell or legs (hey, I get it!), you can use a spoon instead of your thumb to remove the shell. Alternatively, you can use kitchen sheers or scissors to cut the shell open.
-
- You can slice off the tail entirely, or leave it on. For larger shrimp, I like leaving the tail on to use as a handle.
-
- Shrimp that have been frozen and thawed can sometimes be soggy and soft, making it hard to remove the shell. For these cases, try popping them back in the freezer for 30 minutes to 1 hour to slightly harden the flesh.
-
- The shrimp waiting to be shelled should be kept in a bowl of cold water to ensure they don’t warm up too much; peeling shrimp can be a time consuming process!
- Nutrition is calculated for just one shrimp for your convenience.


Comments
No Comments