This post may contain paid links. See more info on my privacy page.
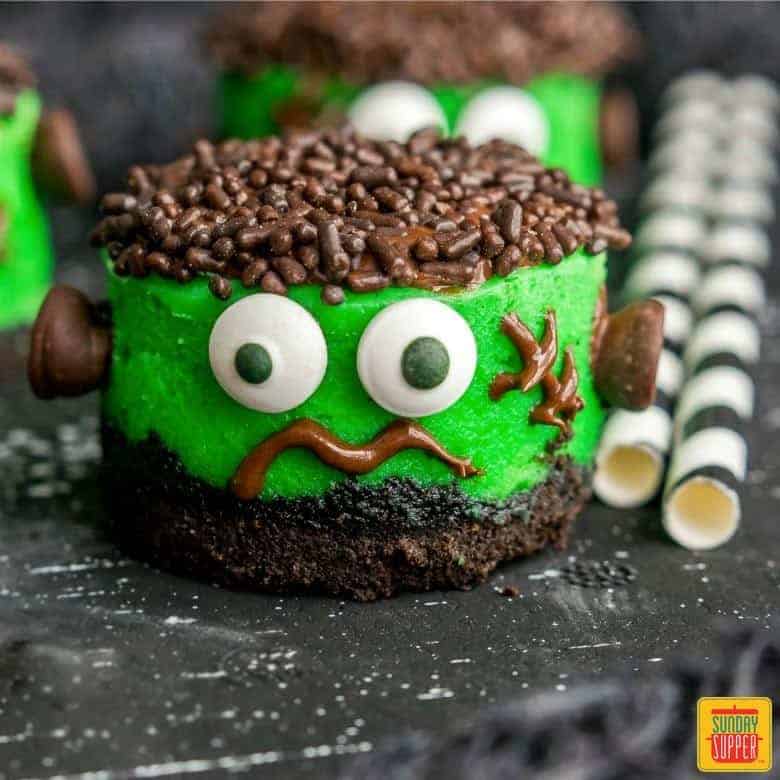
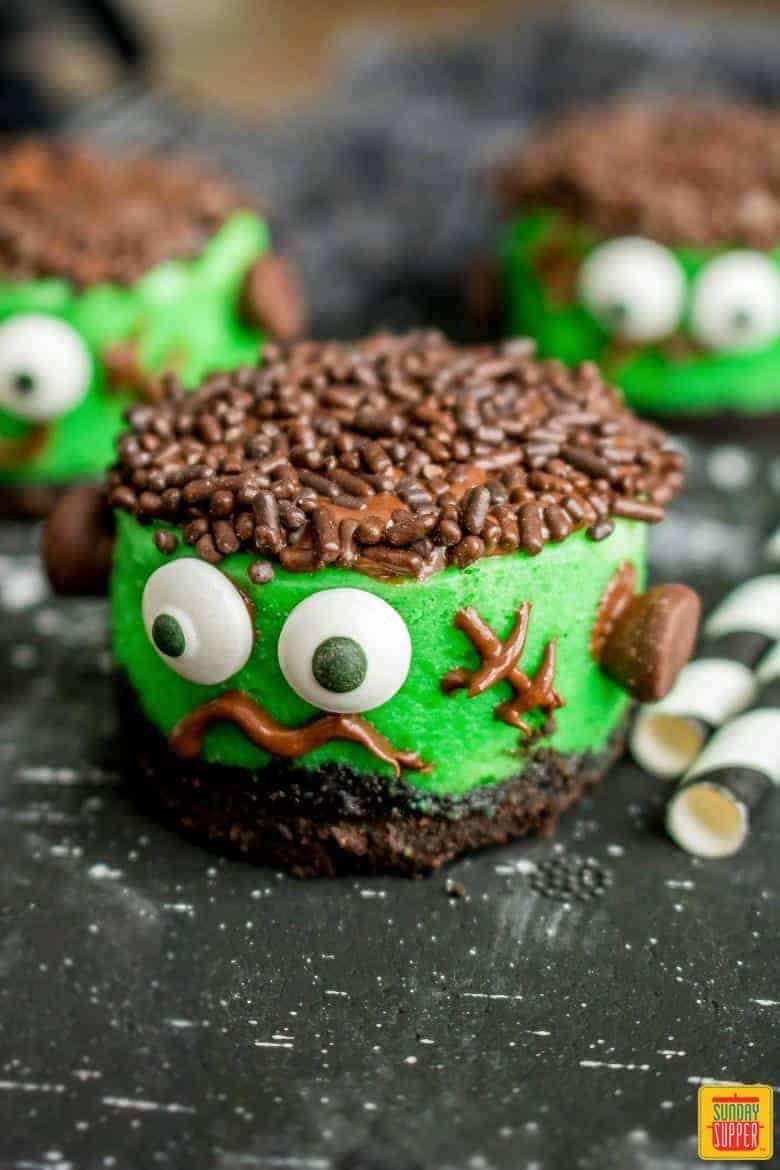
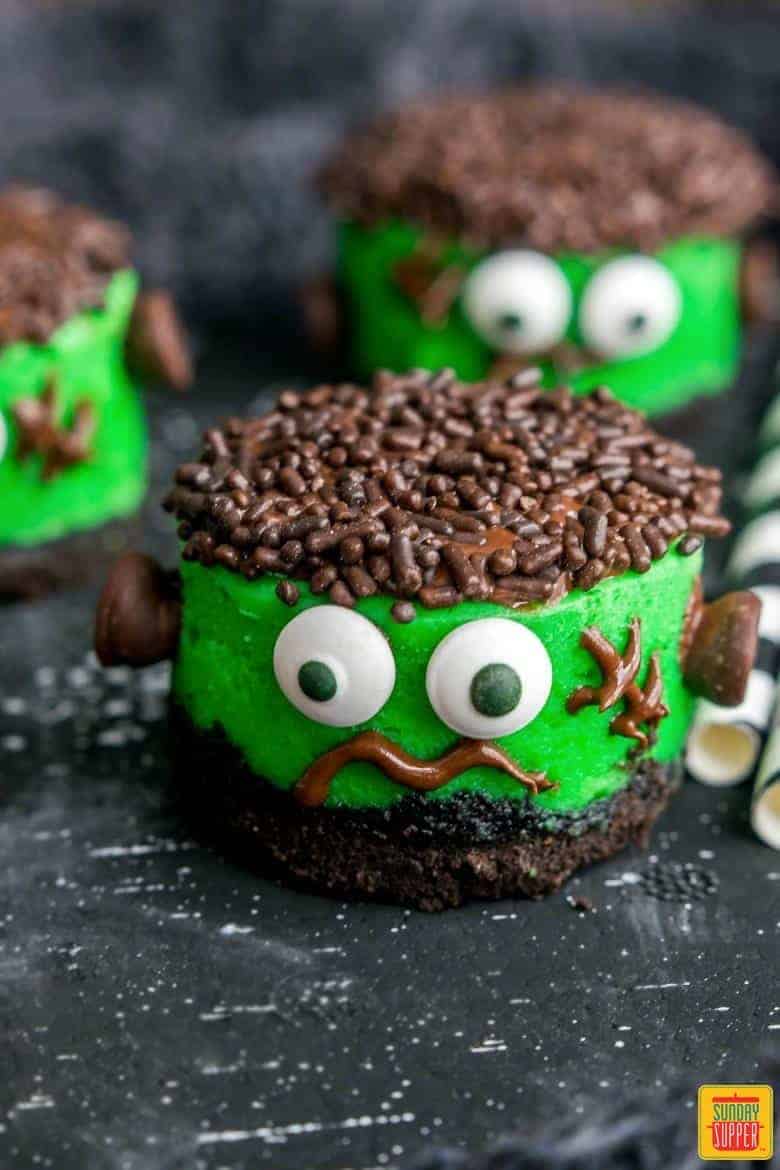
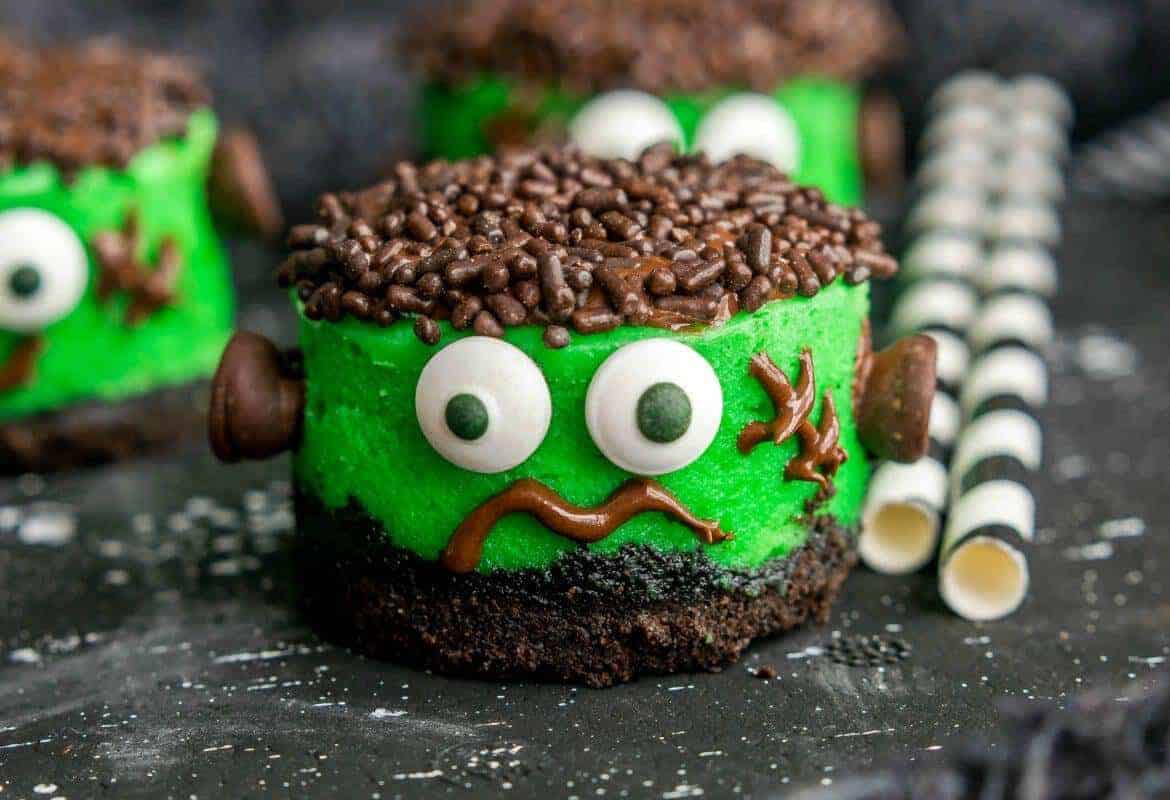
Make Halloween even more fun with Mini Halloween Cheesecakes! These delicious Frankenstein mini cheesecakes are one of the easiest desserts you can make and are a fun Halloween treat both kids and adults will love.
Try out this easy mini cheesecake recipe this Fall—you will want to make it every year!

One of our most favorite times of year is the Halloween season because of all of the cute, creepy, and fun Halloween recipes you can make! We love Halloween food recipes and homemade Halloween treats; they are always so fun.
Mini cheesecakes are easy to decorate and always taste amazing (especially with an Oreo crust like these have), so they're easily one of our favorite Halloween finger foods.
These fun Frankenstein cakes are the perfect Halloween party food for kids and adults alike!
Mini Cheesecake Ingredients
Believe it or not, you hardly need any ingredients to make cheesecake. Our mini cheesecake recipe uses simple ingredients, many of which you may already have on hand.
That is part of what makes it one of our favorite Halloween food ideas! You'll need these ingredients to make your own mini Frankenstein cakes:
Cheesecake Ingredients
- cream cheese, softened
- sugar
- eggs
- flour
- vanilla
- green food coloring
Cheesecake Crust Ingredients
- chocolate sandwich cookies (Oreos)
- butter
Ingredients for Decorating
- candy eyes (you can usually find these near the Halloween candy)
- chocolate, melted
- chocolate sprinkles
- chocolate chips

How to Make Mini Cheesecakes
Mini cheesecakes make it even easier to make cheesecake at home, and nothing could be tastier than homemade cheesecake!
If you know how to make cheesecake already, then you will find these bite-size cute Halloween treats are even easier. Here's how to make mini cheesecakes for Halloween:
Making & Baking Cheesecake
- Preheat oven to 350°F.
- Melt butter and add crushed Oreo cookies.
- Form the cookie mixture into 1" balls and place them in your mini cheesecake pan or muffin tin. Note: using a muffin tin will make fewer mini cheesecakes.
- Use a tamper to firmly press the ball into the bottom of the pan or press down with your hands. Make sure it is firmly pressed.
- In a bowl beat cream cheese, sugar, eggs, and vanilla until thoroughly mixed.
- Add flour slowly, mixing it in completely.
- Add food coloring until you reach the desired color.
- Pour cheesecake mixture over crusts, filling each tin almost to the top.
- Bake for 15 minutes.
- Let cool completely.
TIP: Before dipping the cheesecakes in the melted chocolate, freeze for at least 30 minutes after cooling!
Decorating Cheesecake
- Melt chocolate chips in the microwave. We recommend melting in 30-second intervals, being careful not to let the chocolate seize.*
- Remove the cheesecakes from their container and dip the top of each one into the melted chocolate and then into a bowl of the sprinkles.
- Pipe the melted chocolate onto the cheesecakes to create a mouth and other decorations. You can use a plastic bag with a small hole cut in one of the corners as a piping bag.
- Pipe a small dot of melted chocolate on the back of each edible eye on on the end of each chocolate chip to "glue" on the eyes and neck bolts.
We have a guide on how to melt chocolate in the microwave included in our recipe for Halloween Chocolate Bark!
While you're making Halloween finger foods, why not check out our easy chocolate bark recipe? Halloween chocolates are even more fun when you make them yourself!

How long does cheesecake last?
Our mini cheesecakes should last about 4 to 5 days in the refrigerator. Although, we're fairly sure you'll eat them before then!
Can you freeze cheesecake?
Yes, you can freeze cheesecake! It's easy to do in just a couple of steps. Here's how to freeze cheesecake:
- Set your mini cheesecakes on a flat plate and wrap 2-3 times in plastic wrap. You want it to have a good seal.
- In our experience, cheesecake freezes well for up to a month. When ready to thaw, thaw it in the fridge. These mini cheesecakes should thaw quickly, but you may want to take them out of the freezer the night before you intend to serve them.
Did you enjoy these mini Halloween cheesecakes? We would love to know what you think! Let us know in the comments below and with a rating.
Kid Favorite Dessert Recipes
- Caramel Apple Empanadas
- Chocolate Ganache Covered Strawberries
- Chocolate Peanut Butter Pretzels Snack Mix
- Strawberry Shortcake Ice Cream Cake
Make other amazing desserts with our Graham Cracker Crust for Cheesecake!

Mini Halloween Cheesecakes
Ingredients
Cheesecake
- 16 oz. Cream cheese - softened
- 1 cup Sugar
- 3 Eggs
- 2 Tbsp. Flour
- 1 ½ tsp. Vanilla
- 20 drops Green food coloring
Crust
- 2 cup Chocolate sandwich cookies - crushed
- 2 Tbsp. Butter - melted
Decorations
- 32 Edible Eyes
- 1 cup Chocolate - melted
- 1 cup Chocolate Sprinkles
- 32 Chocolate Chips
Instructions
- Preheat oven to 350°F
- Melt butter and add crushed cookies
- Form the cookie mixture into 1 inch balls and place them in your mini cheesecake pan.
- Use tamper to firmly press the ball in to the bottom of the pan.
- In bowl beat cream cheese, sugar, eggs, and vanilla until thoroughly mixed.
- Add flour slowly, mixing it in completely.
- Add food coloring until you reach the desired color.
- Pour cheesecake mixture over crusts, filling each tin almost to the top.
- Bake for 15 minutes.
- Let cool completely.
To Decorate:
- Melt chocolate chips in the microwave.
- Remove the cheesecakes from their container and dip the top of each one into the melted chocolate and then into a bowl of the sprinkles.
- Pipe the melted chocolate onto the cheesecakes to create a mouth and other decorations.
- Pipe a small dot of melted chocolate on the back of each edible eye on on the end of each chocolate chip to "glue" on the eyes and neck bolts.
Notes
- You can use a muffin tin rather than a mini cheesecake pan, although a muffin tin will make fewer cheesecakes.
- You can freeze your mini cheesecakes for up to a month by setting them on a plate and wrapping tightly 2 to 3 times in plastic wrap.
Nutrition
Post updated on 9/18/2019.


thatskinnychickcanbake says
These are adorable! And even better, they're mini cheesecakes!!!
Laura Dembowski (@piesandplots) says
I seriously cannot get over how cute these are!
Wendy Klik says
I LOVE these!!!
Sara says
I cannot wait to make these for my cheesecake loving family! They're adorable!!!
Christie Campbell says
These are adorable! So cute for Halloween.
HezziD says
These are adorable! I love them!
Cindy Kerschner says
You look a bit confused, Mr Monster. Let me help you...into my belly!
theninjabaker says
Sooooo cute! Pinning of course =) P.s. Thank you for all the optional hair-dos for Cheesecake Monster-san.
myimpkitchen says
These are just the cutest little monsters!! I would love to make these with my grand babies! <3
Em Beitel says
Thank you Sara! We love these little cheesecakes!