This post may contain paid links. If you make a purchase through links on our site, we may earn a commission.
Whip up a batch of delicious Quick Dinner Rolls perfect for any occasion, from Sunday dinners with your family, to potlucks and holiday feasts! These easy dinner rolls come together in under 30 minutes using simple ingredients, and bake in just 15. Fluffy, warm, and best served with a pat of butter!
Jump to:
Quick Dinner Roll Recipe
If you have ever enjoyed homemade rolls, you know what a difference they make! Most likely, you've only ever had them over the holidays; but these quick dinner rolls are so easy, you can make them any time of the year, even to go with weeknight dinner.
These simple, easy dinner rolls are as convenient as rolls recipes come. You can form and rise the dough in under 30 minutes total, and the rolls bake in under 20, so they're always going to be ready in under 1 hour!
Even if you've never baked before, I promise, these rolls are easy.
My family is obsessed with this recipe- I love to serve it as Thanksgiving rolls, and it always makes an impressive addition to the table. I can't tell you how many times I've been asked how to make them! Give my recipe a try, and I know you'll love it, too!
Quick Roll Recipe Ingredients
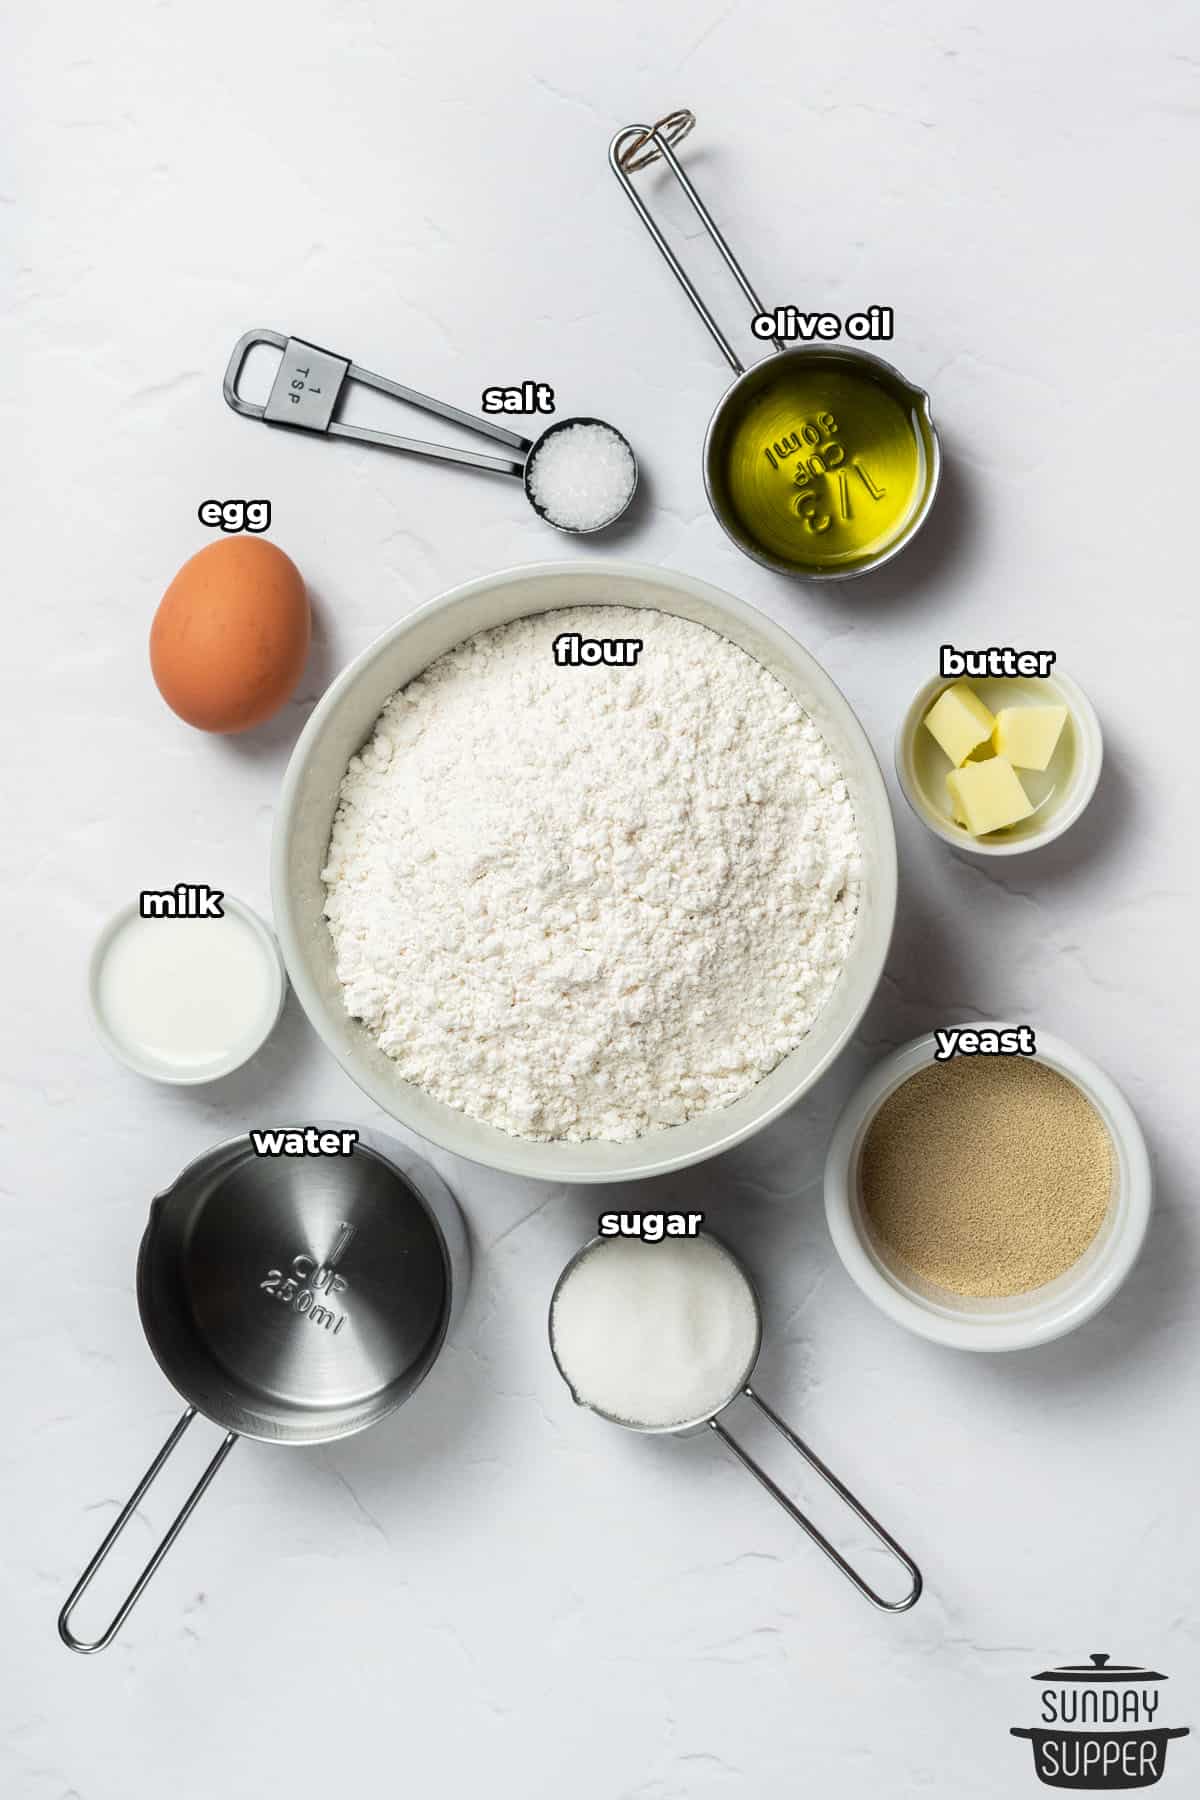
- Water, warm - make sure it isn't too hot!
- Olive oil
- White sugar
- Active Dry Yeast
- Egg, beaten
- Butter, softened - let it sit out at room temperature to become soft before you make these rolls.
- Salt - non-iodized salt is best.
- All-purpose flour
- Milk, room temperature
How to Make Dinner Rolls
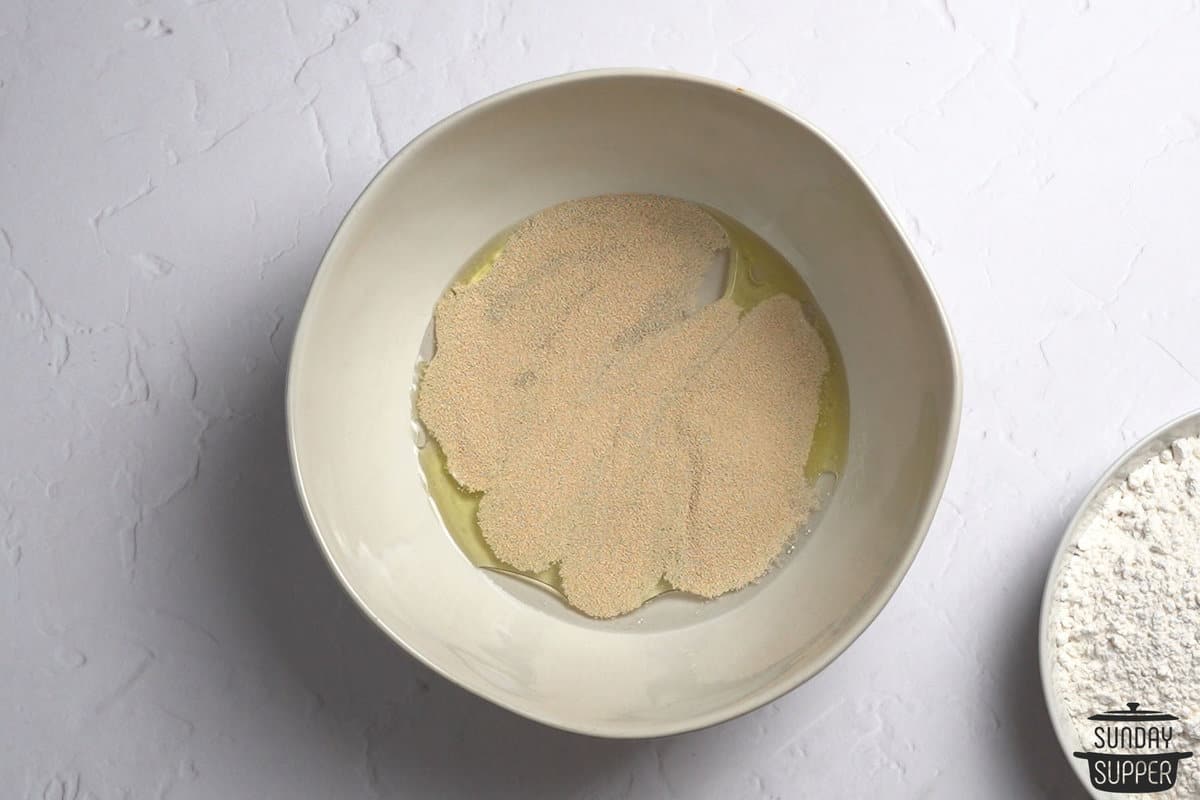
- Preheat the oven to 400°F. In a large bowl, combine warm water, olive oil, white sugar, and yeast. Allow the mixture to sit for about 8-10 minutes until the yeast becomes bubbly.
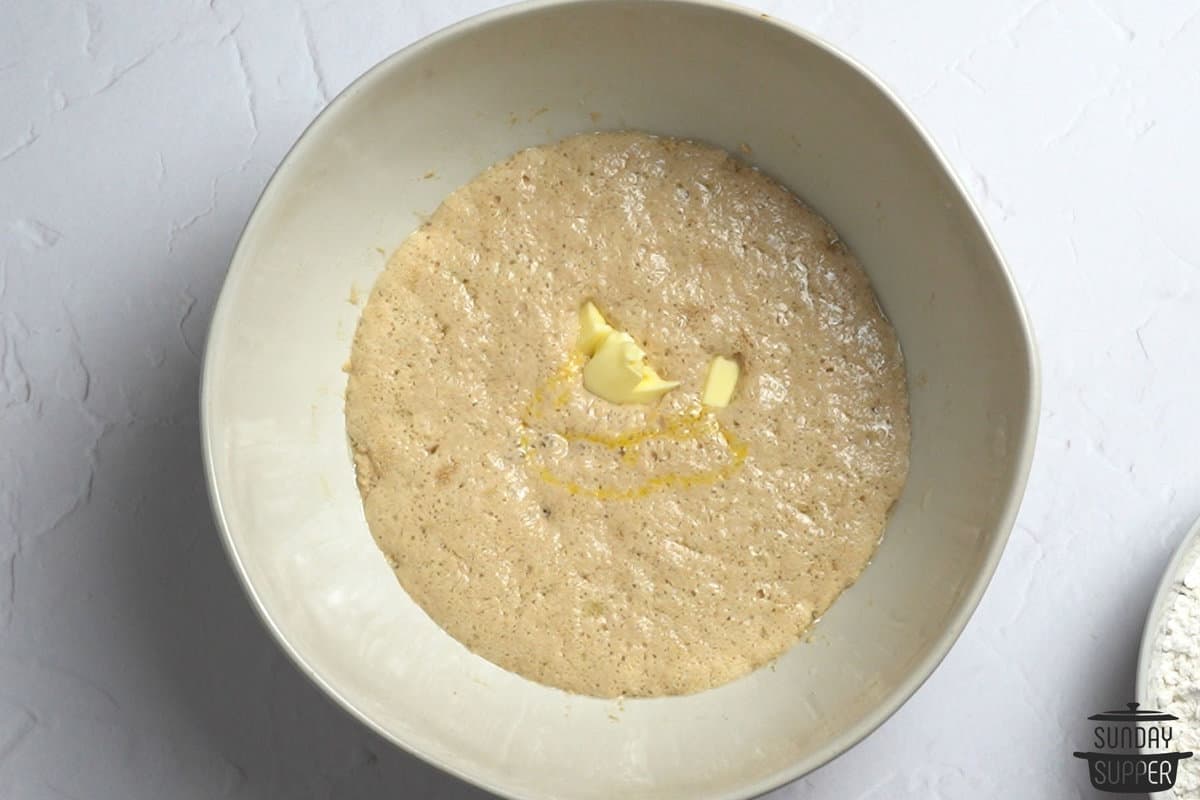
- Stir in the beaten egg, softened butter, and salt.
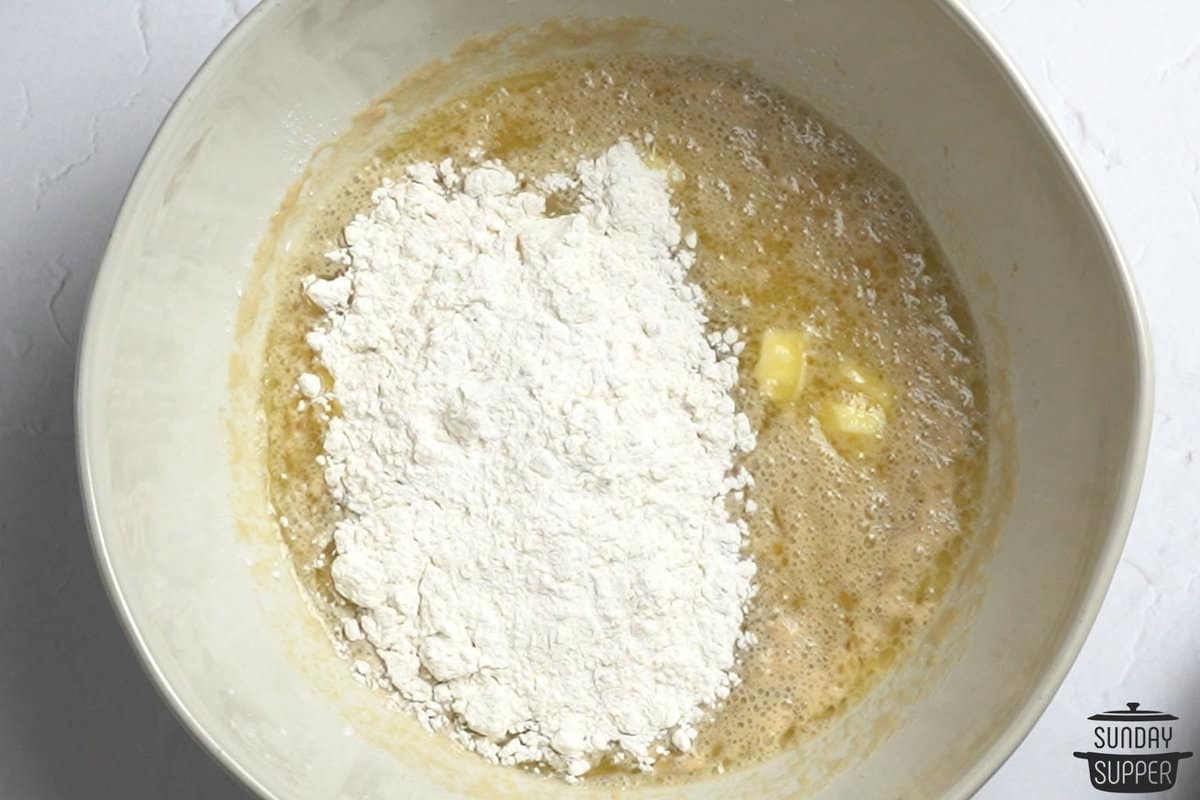
- Using a stand mixer with a dough hook attachment or your hands, mix in the all-purpose flour one cup at a time until you have a soft dough that isn't overly sticky. We used about 4 cups of flour, but it may take you anywhere from 3-4.
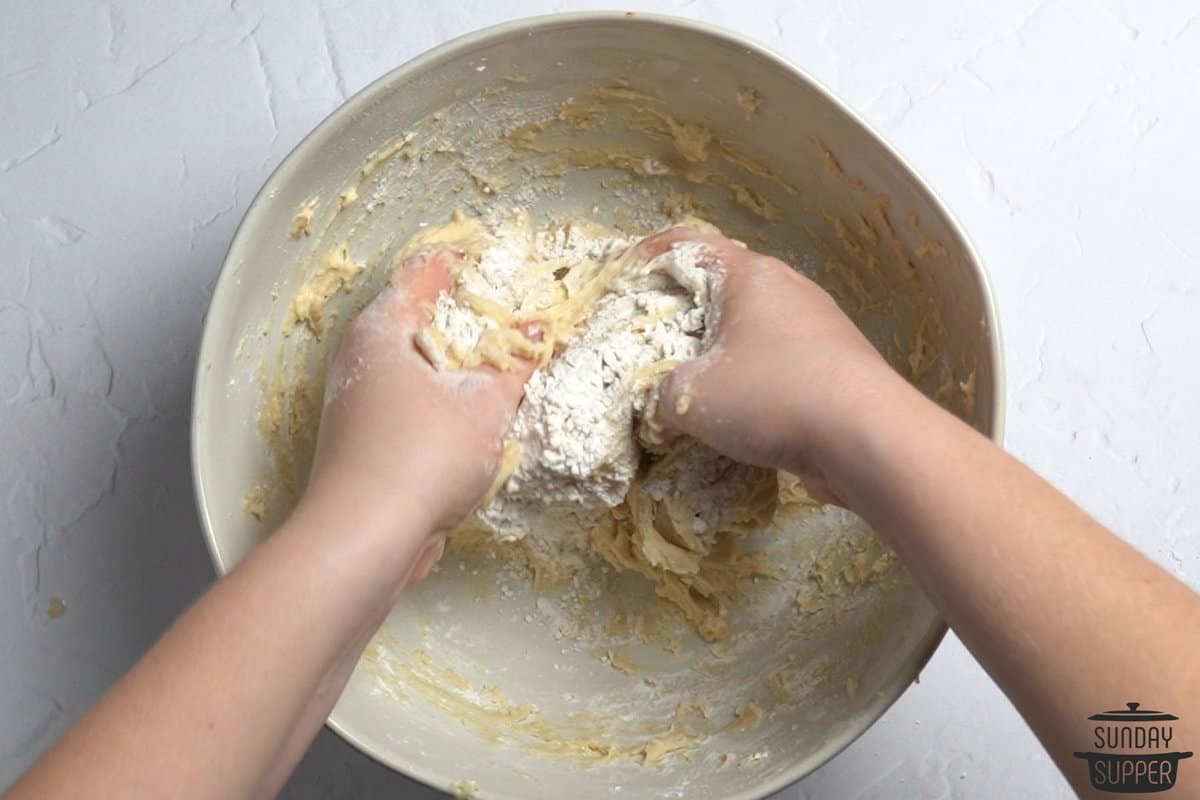
- Sprinkle a bit of flour on top of your dough, then knead it by hand for 10 minutes (or 5 minutes with a stand mixer).
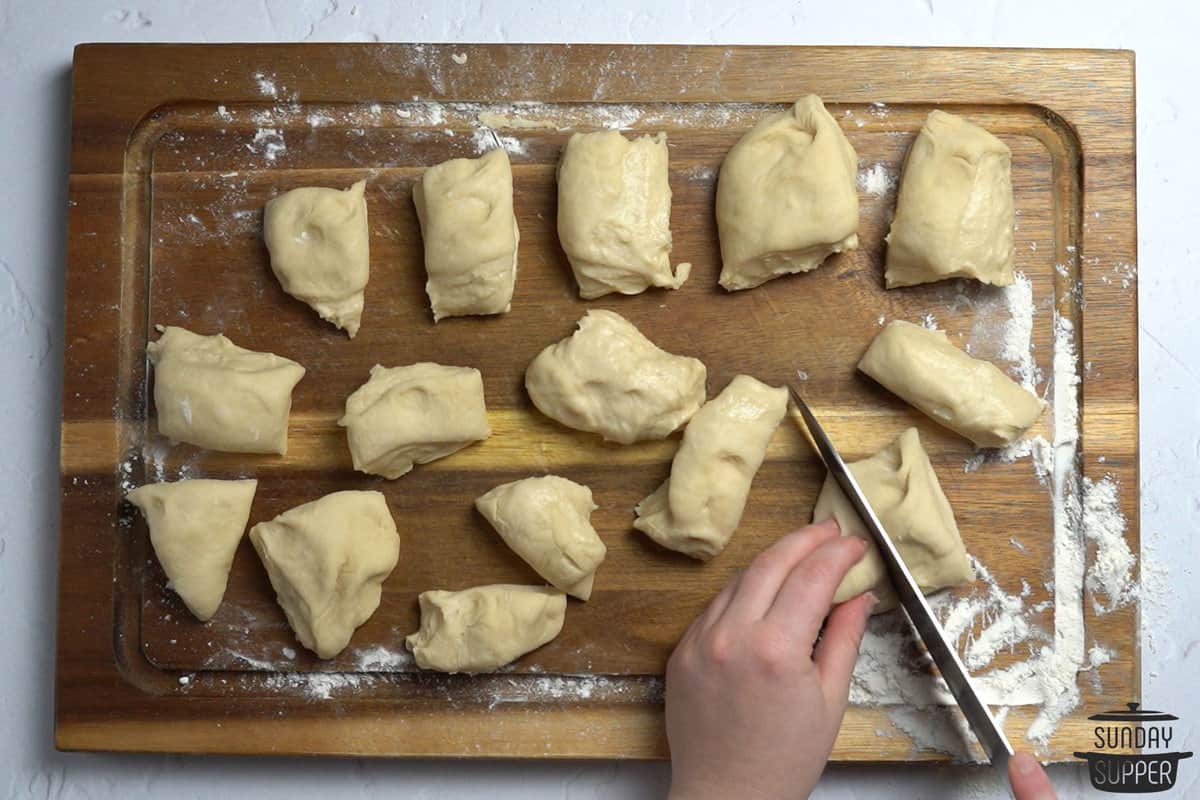
- Divide the dough into 18 pieces and shape them into balls.
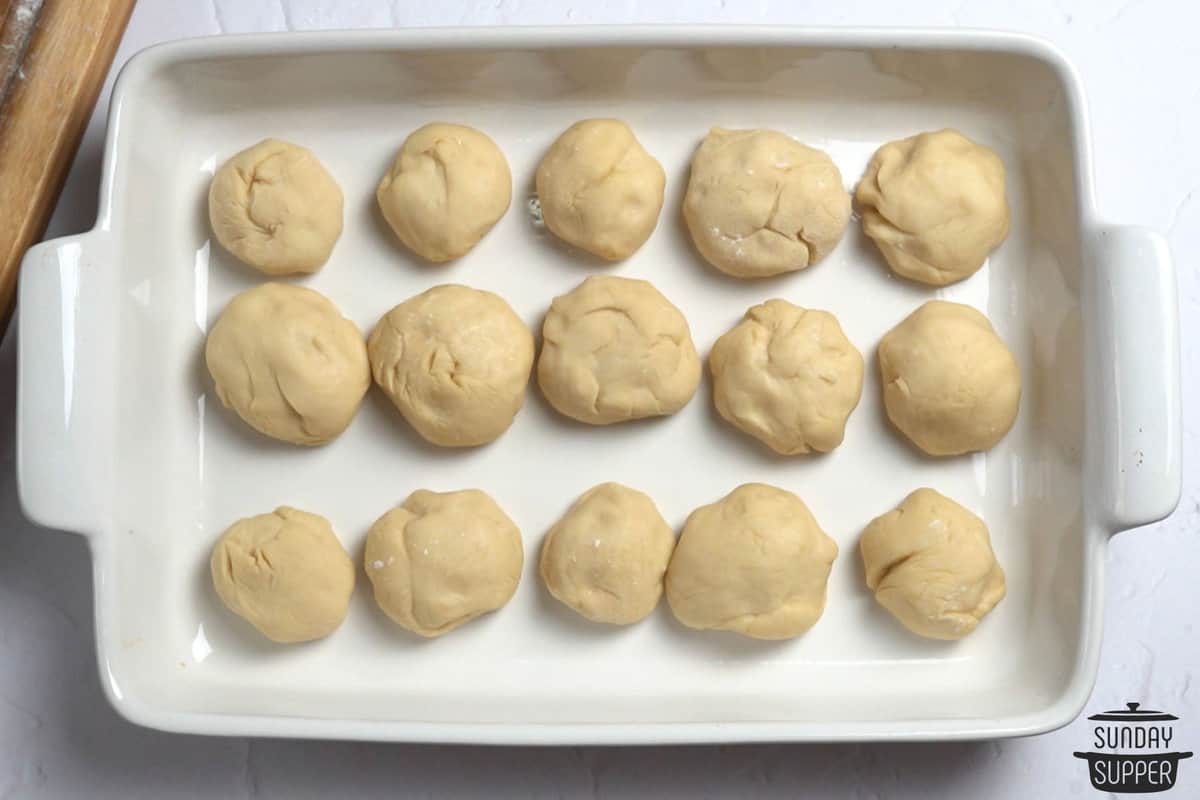
- Place the dough balls on a greased 10 by 15-inch pan and cover them with parchment paper and a kitchen towel. Let the dough rise for 10 minutes in a warm place, but if you have more time, you can let them rise for up to 30 minutes.
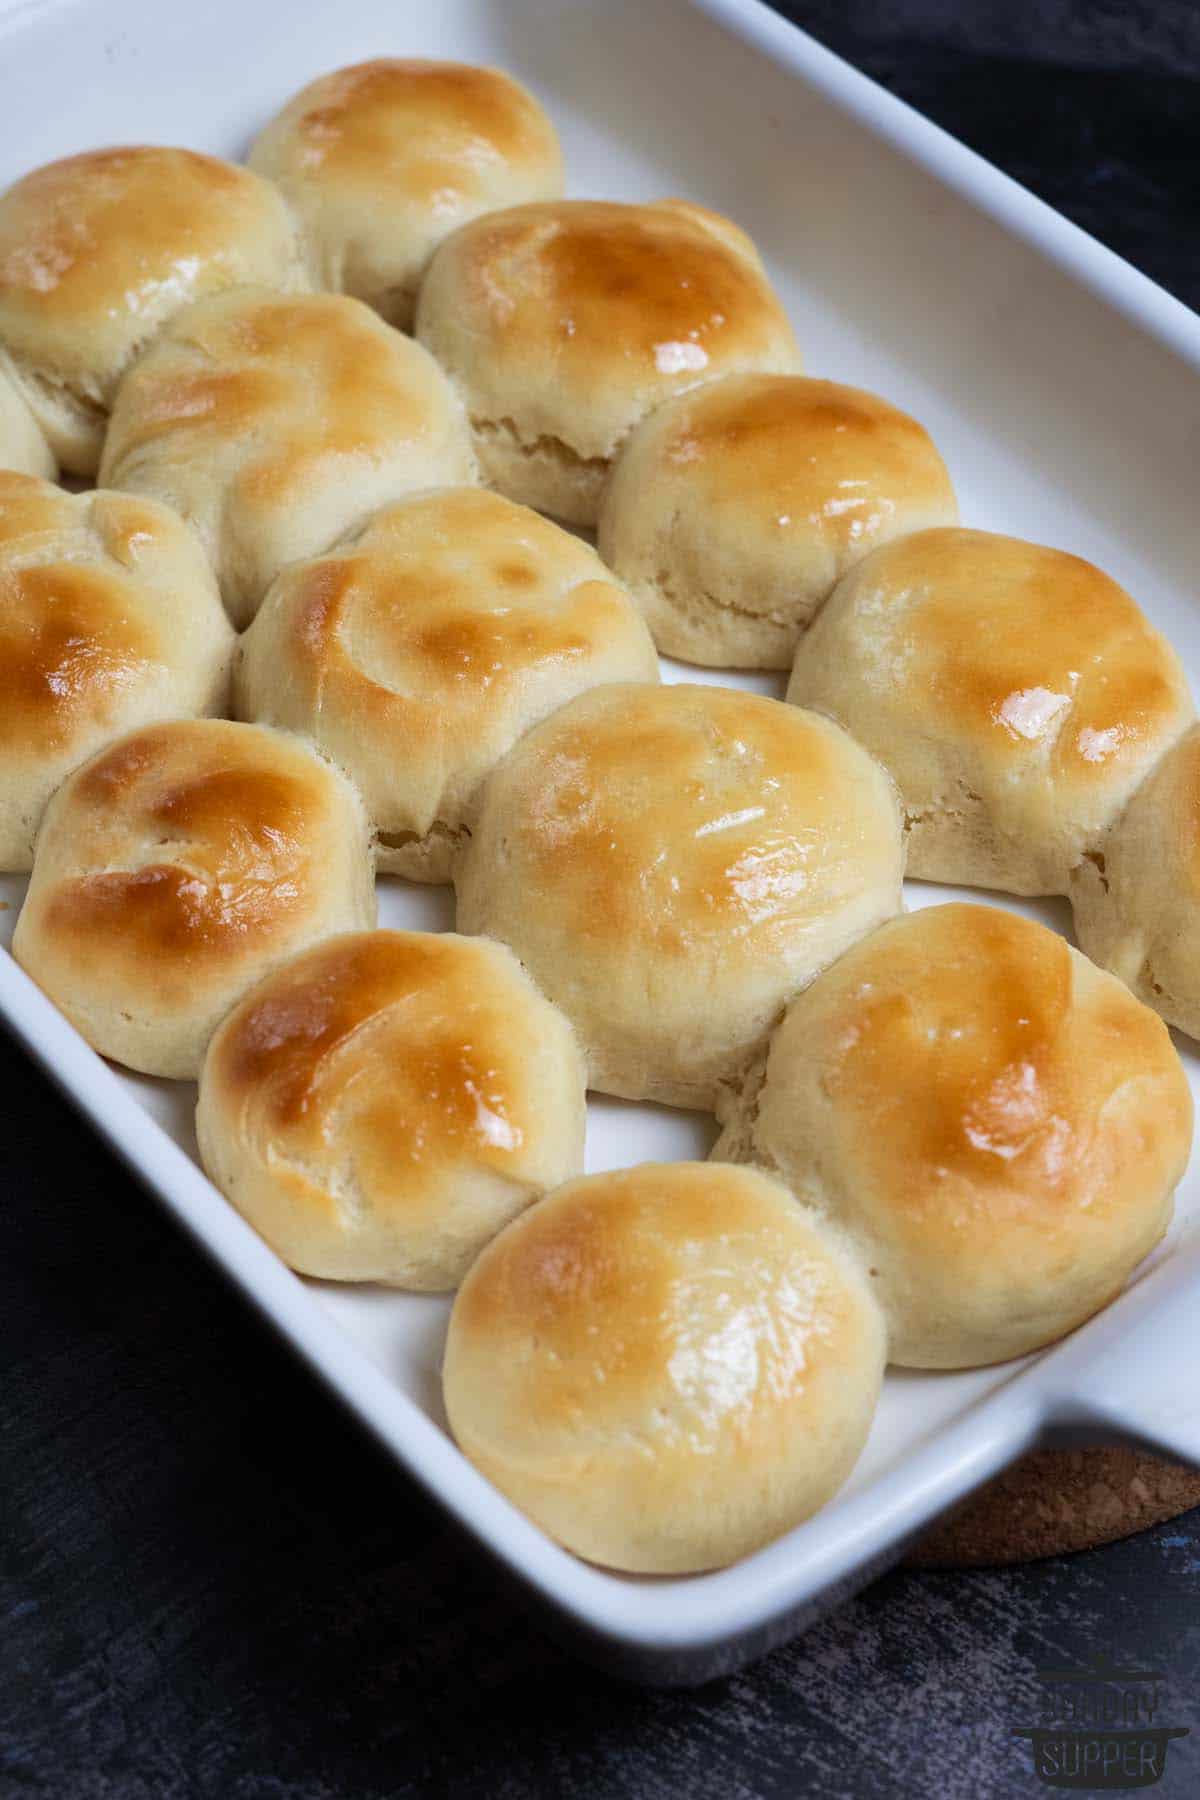
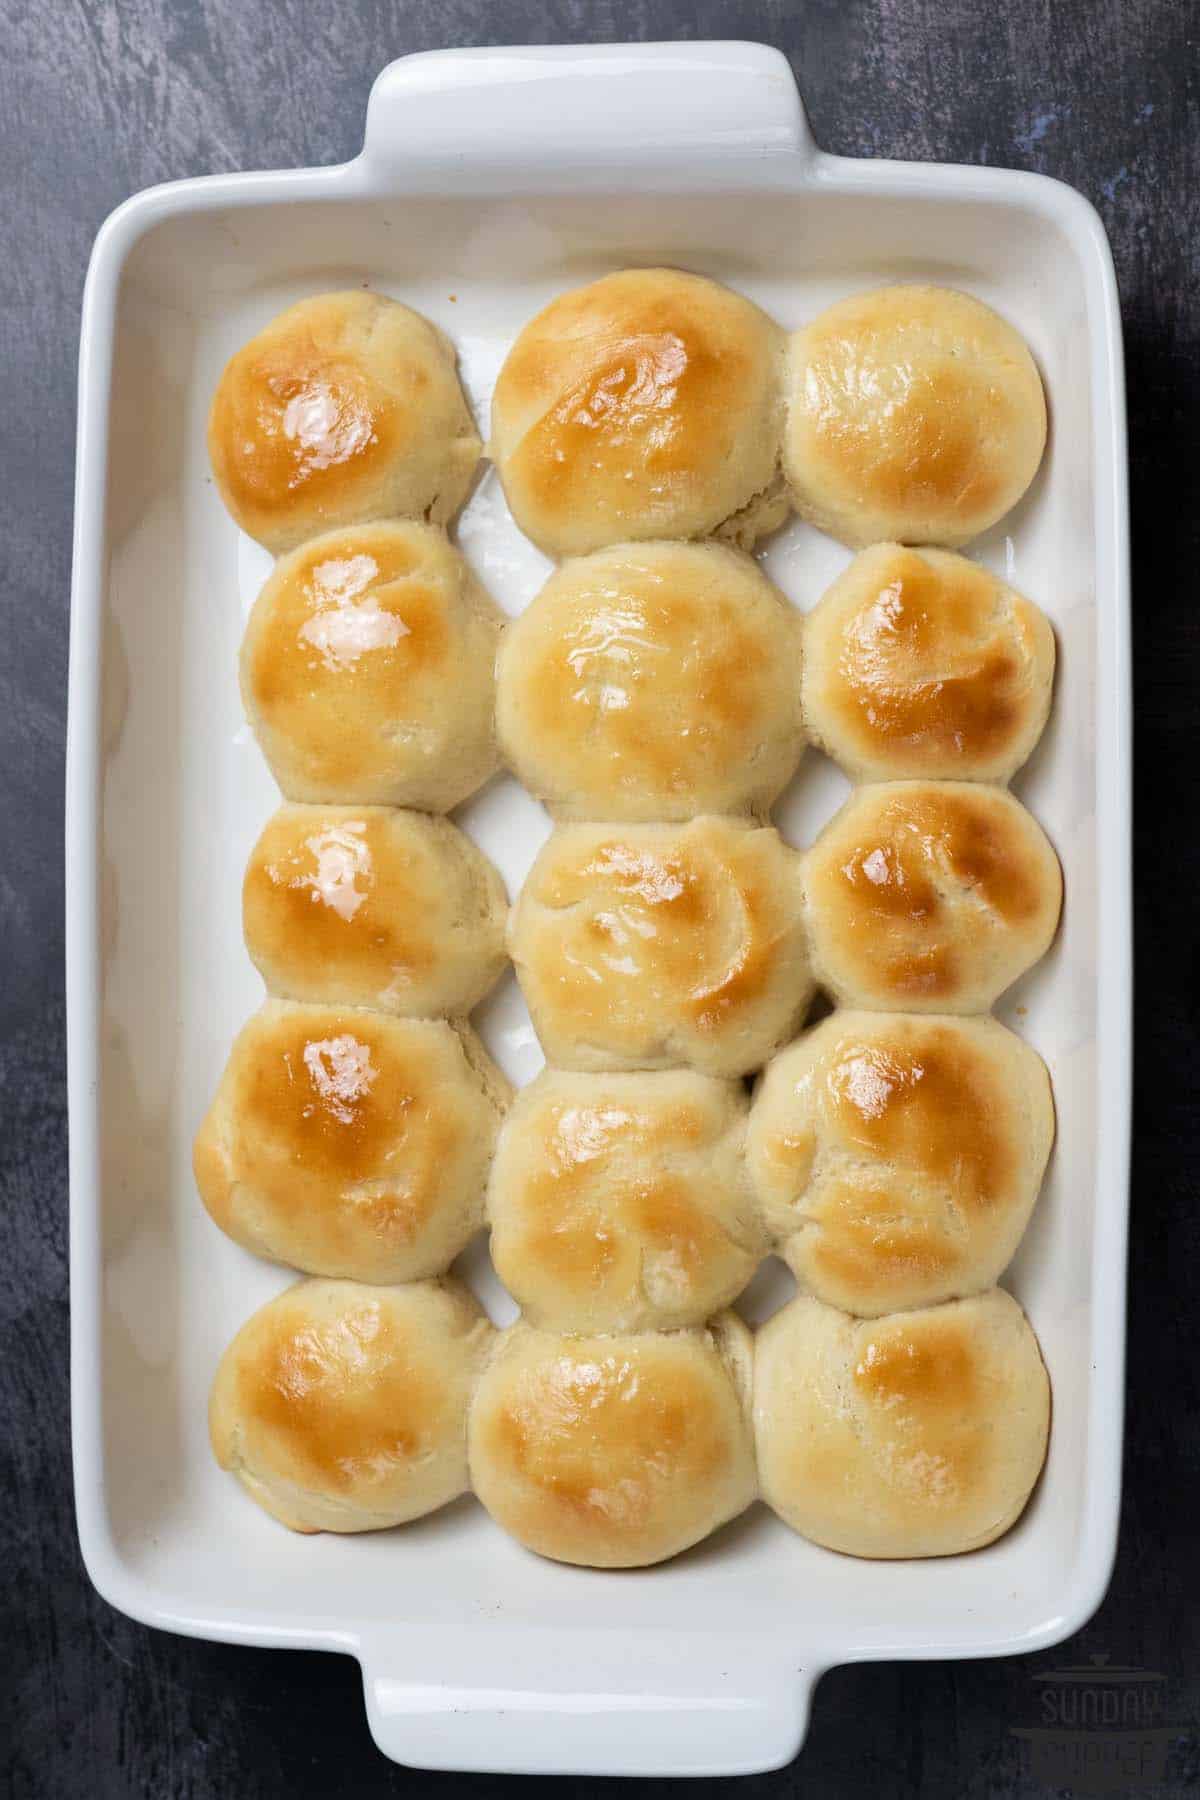
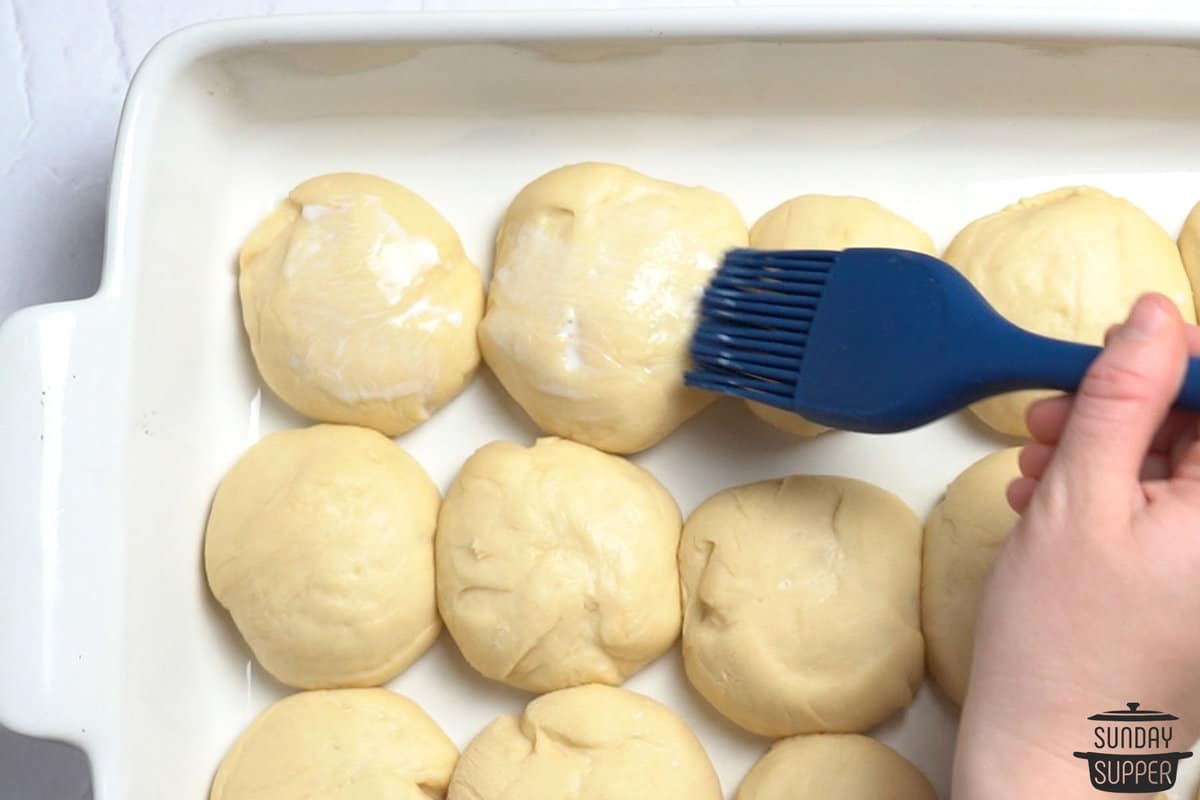
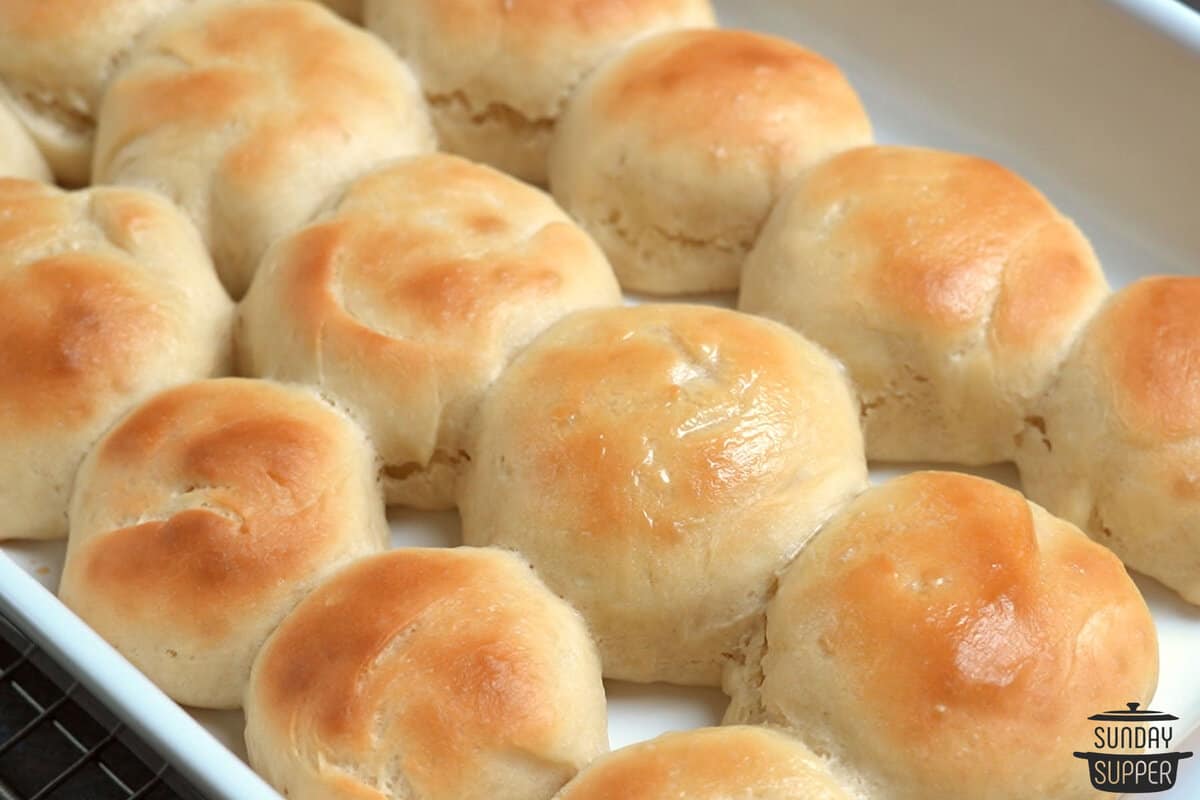
- Lightly brush the rolls with milk and bake them on the middle rack in the oven for 15-17 minutes or until they're just browned.
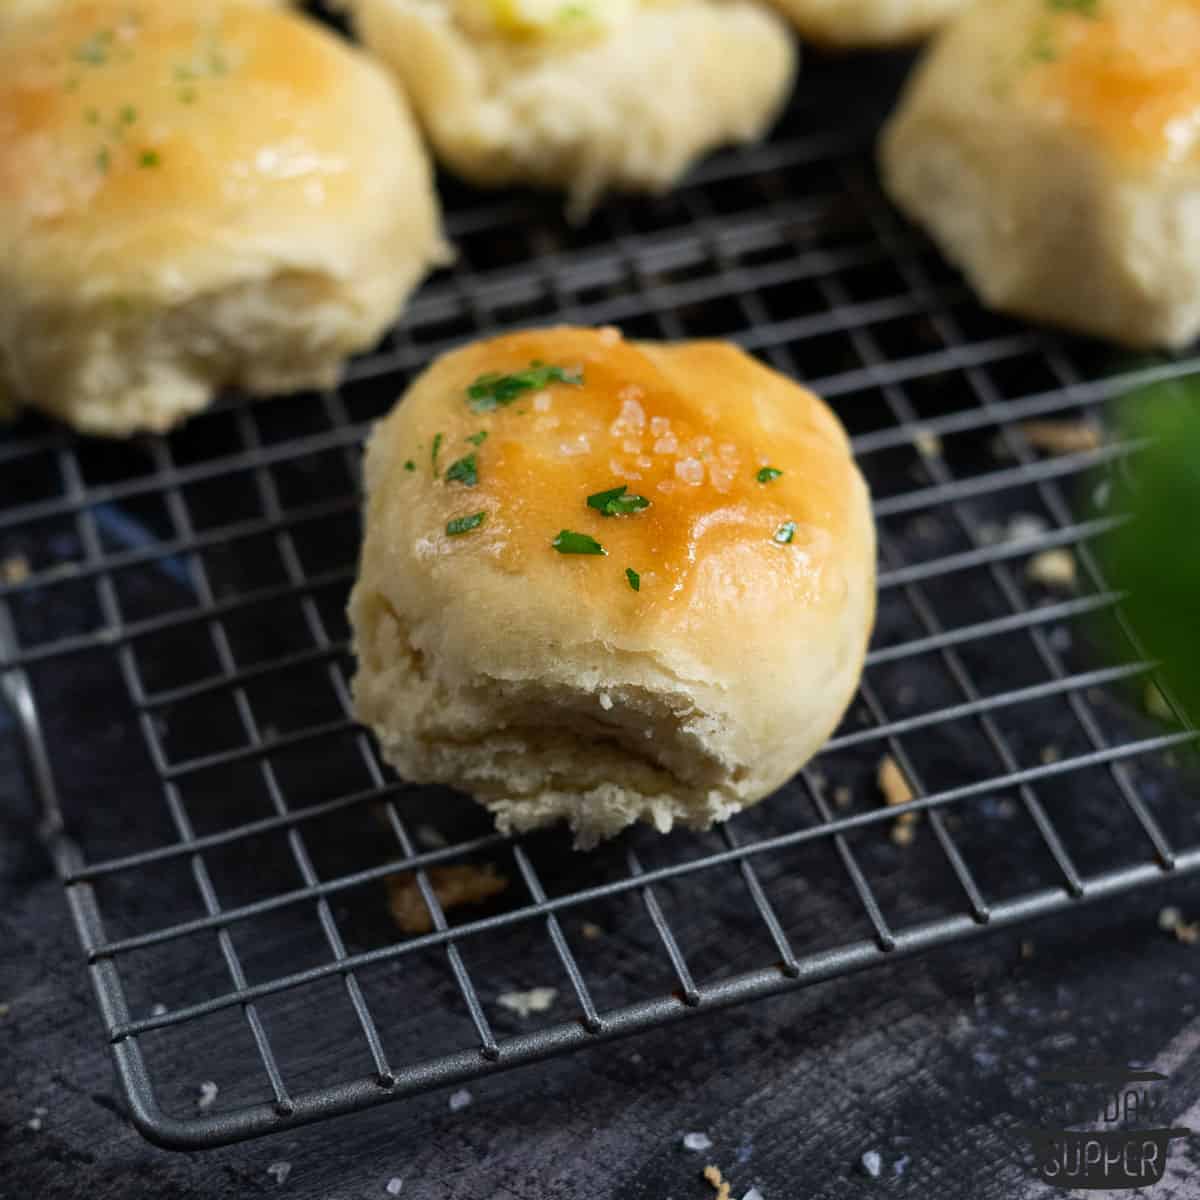
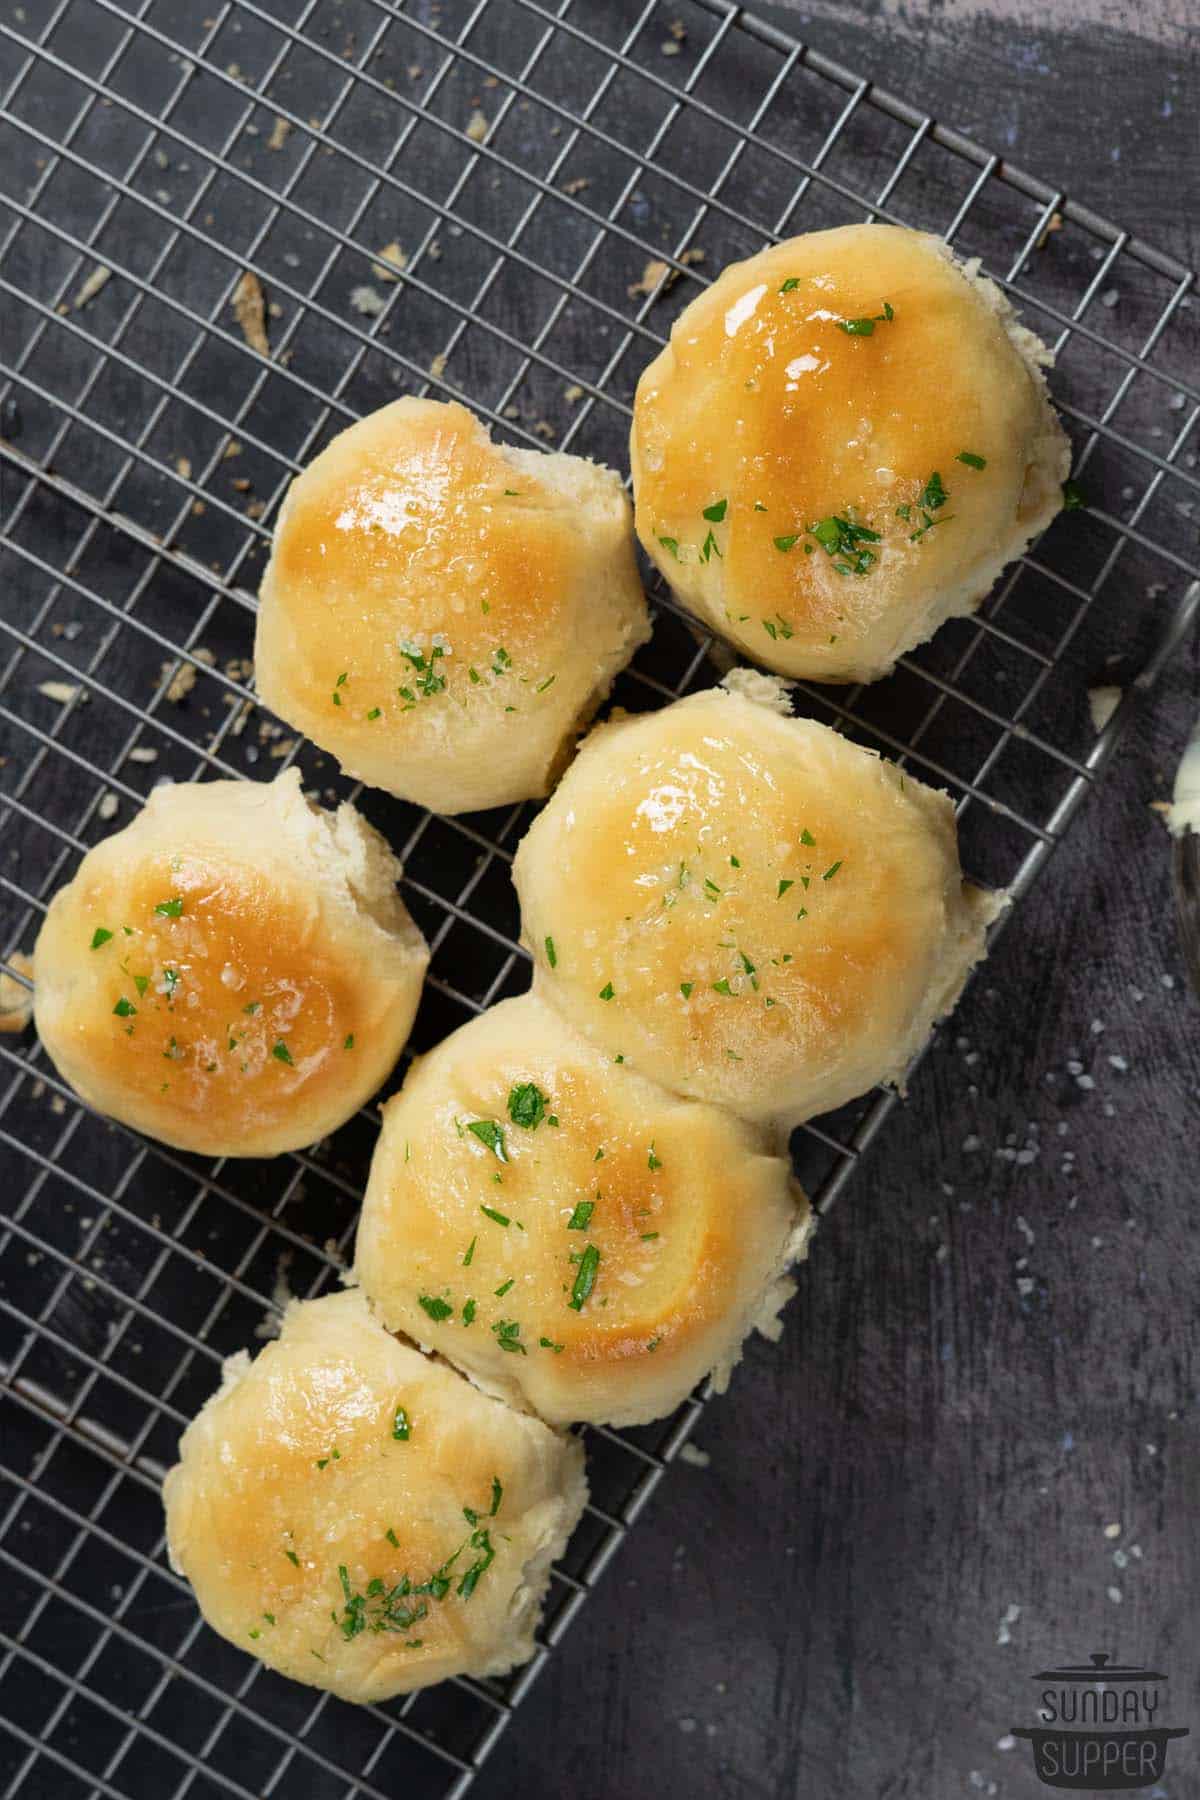
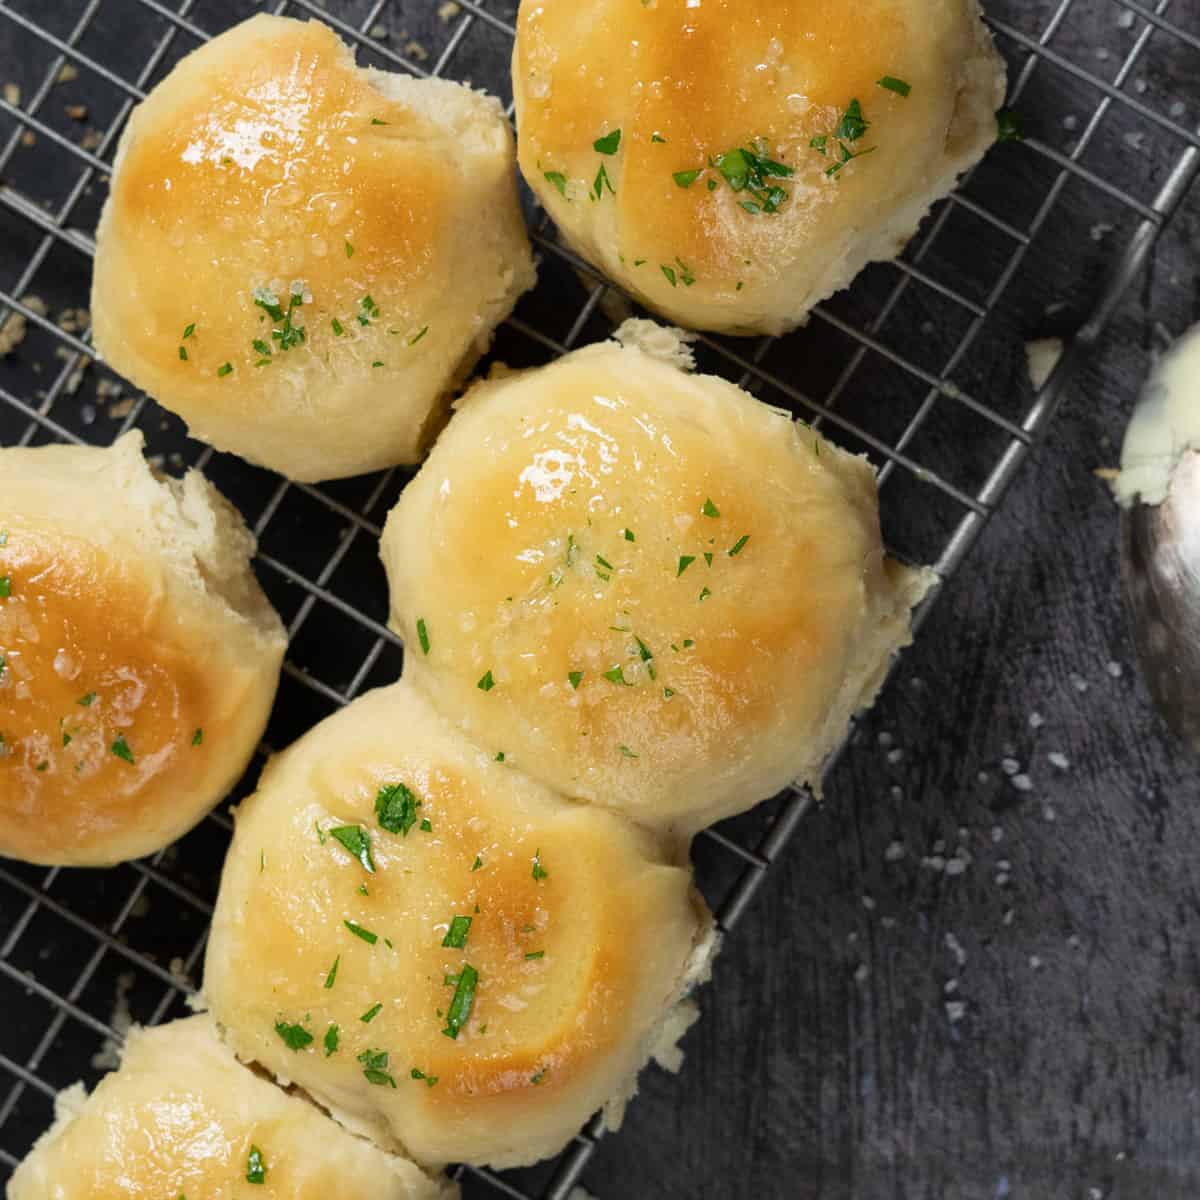
- For the finishing touch, top the rolls with melted butter or garlic butter immediately after baking.
Tips for Quick Rolls
- Use warm water: Ensure the water you use is warm, but not too hot. Hot water can kill the yeast, so be cautious with the temperature. It should be between 105 to 115°F.
- Knead the dough well: Kneading the dough develops gluten, giving your rolls that lovely chewy texture. Ten minutes of kneading by hand, or five minutes with a stand mixer, is the goal.
- Don't rush the rising: Letting the dough rise for the recommended time allows for better flavor development. You can extend the rising time if you wish, but 10 to 30 minutes should be sufficient.
- Milk for a golden finish: Brushing the rolls with milk before baking gives them a beautiful golden brown color!
Dinner Roll Recipes FAQ
While whole wheat flour can be used, it may yield slightly denser rolls. A 50/50 mix of whole wheat and all-purpose flour, spelt, or pastry flour can work well.
Yes, you can freeze the dough after shaping it into rolls. Freeze them on a parchment-lined baking sheet, then transfer the frozen rolls to a freezer-safe container such as a tightly sealed freezer bag. They will last for up to 1 month in the freezer (no longer). When you're ready to bake, allow the rolls to thaw and rise before baking.
Yes, you can use instant yeast, but you don't need to activate it in warm water first. Simply add it to the dry ingredients.
If your dough is too sticky, add a bit more flour, a tablespoon at a time, until it reaches the desired consistency. Be careful when adding flour; never add too much at once, but work in small increments until you reach the right consistency.
If you want to season the rolls before baking, sprinkle them with a little garlic powder and your favorite dried herbs. This won't change the baking time or instructions.
How to Store Homemade Dinner Rolls
Once the rolls cool completely, add them to an airtight container or a resealable plastic bag. They store well for up to 2 days at room temperature, or up to 1 week in the refrigerator (though they won't stay as soft as they would on the counter!).
You can also freeze baked rolls. Allow them to come to room temperature, then add them to a freezer-safe bag. Press the air out as much as possible, then seal tightly. Store for up to 1 month in the freezer. Don't forget to label with the freezing date!
What to Serve with Dinner Rolls
- Soup: These quick dinner rolls make an amazing pairing for your favorite soups, like my homemade Chick-fil-A Chicken Noodle Soup.
- Stew: Sop up the flavors of a delicious Instant Pot Beef Stew with these rolls!
- Roast turkey: Of course, these make the best Thanksgiving rolls. Serve them with any of my turkey recipes- but above all else, my Thanksgiving Turkey Recipe!
- Meatloaf: I love serving these fast dinner rolls with my slow cooker meatloaf recipe.
- With pasta dishes: Try serving these rolls with Slow Cooker Lasagna, Spaghetti in One Pot, or Pink Pasta Sauce with Sausage!
Love easy bread recipes? You'll want to try my guide on How to Make Sprouted Bread at Home next!
If you enjoyed the recipe, leave a comment and a rating below!
Quick Dinner Rolls
Equipment
- stand mixer (optional)
- 10x15" greased pan
Ingredients
- 1 cup warm water - make sure it's not too hot! It should be between 105 to 115℉.
- ⅓ cup olive oil
- ¼ cup white sugar
- 2 Tablespoons active dry yeast - see notes for Instant Yeast
- 1 egg - beaten
- 1 Tablespoon butter - softened; allow it to sit at room temperature to soften before making the rolls
- 1 teaspoon salt - non-iodized salt works best for baking
- 3 to 4 cups all-purpose flour - see FAQ if you want to use whole wheat flour
- ⅛ cup milk - room temperature
Instructions
- Preheat the oven to 400°F. In a large bowl, combine warm water, olive oil, white sugar, and yeast. Allow the mixture to sit for about 8-10 minutes until the yeast becomes bubbly.1 cup warm water,⅓ cup olive oil,¼ cup white sugar,2 Tablespoons active dry yeast
- Stir in the beaten egg, softened butter, and salt.1 egg,1 Tablespoon butter,1 teaspoon salt
- Using a stand mixer with a dough hook attachment or your hands, mix in the all-purpose flour one cup at a time until you have a soft dough that isn't overly sticky. We used about 4 cups of flour, but it may take you anywhere from 3-4.3 to 4 cups all-purpose flour
- Sprinkle a bit of flour on top of your dough, then knead it by hand for 10 minutes (or 5 minutes with a stand mixer).
- Divide the dough into 18 pieces and shape them into balls.
- Place the dough balls on a greased 10 by 15-inch pan and cover them with parchment paper and a kitchen towel.
- Let the dough rise for 10 minutes in a warm place, but if you have more time, you can let them rise for up to 30 minutes.
- Lightly brush the rolls with milk and bake them on the middle rack in the oven for 15-17 minutes or until they're just browned.⅛ cup milk
- For the finishing touch, top the rolls with melted butter or garlic butter immediately after baking.
Notes
- Use warm water, not hot: Hot water can kill the yeast, so be cautious with the temperature. It should be between 105 to 115°F.
- Knead the dough well: Ten minutes of kneading by hand, or five minutes with a stand mixer, is the goal for the perfect soft and chewy rolls.
- Don't rush the rising: You can extend the rising time if you wish, but 10 to 30 minutes should be sufficient for the perfect flavor development in these rolls.
- Milk for a golden finish: Brushing the rolls with milk before baking gives them that beautiful golden brown color on top.
- How to use Instant Yeast: Unlike active dry yeast, Instant Yeast does not need to be activated in warm water before using. Mix it in with the dry ingredients, using the same amount you would for active dry yeast.


Comments
No Comments