
This post may contain paid links. If you make a purchase through links on our site, we may earn a commission.
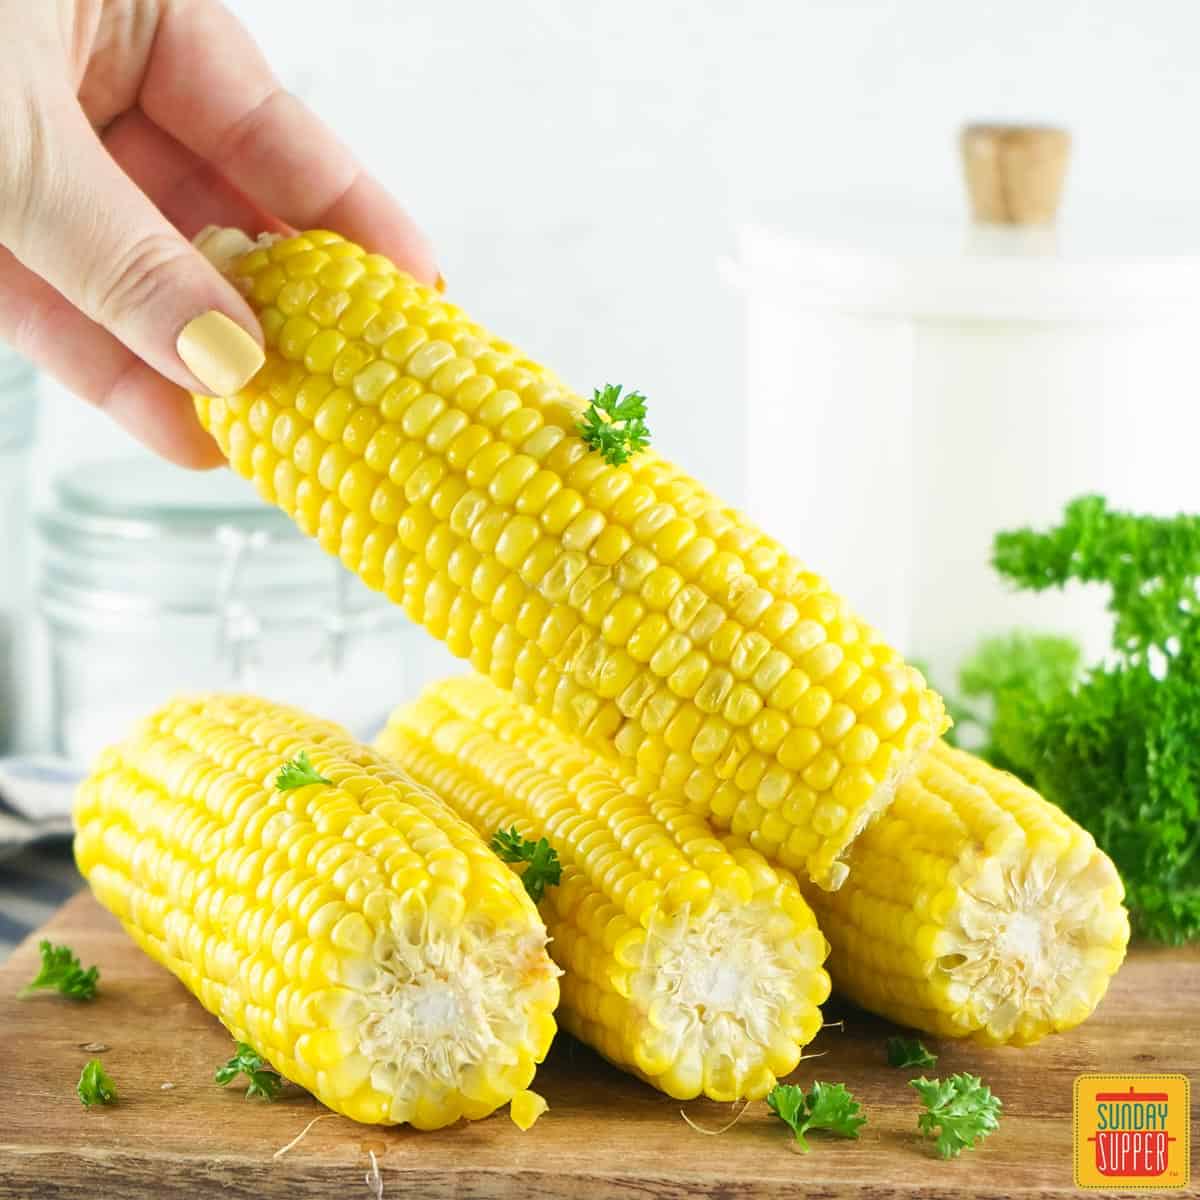
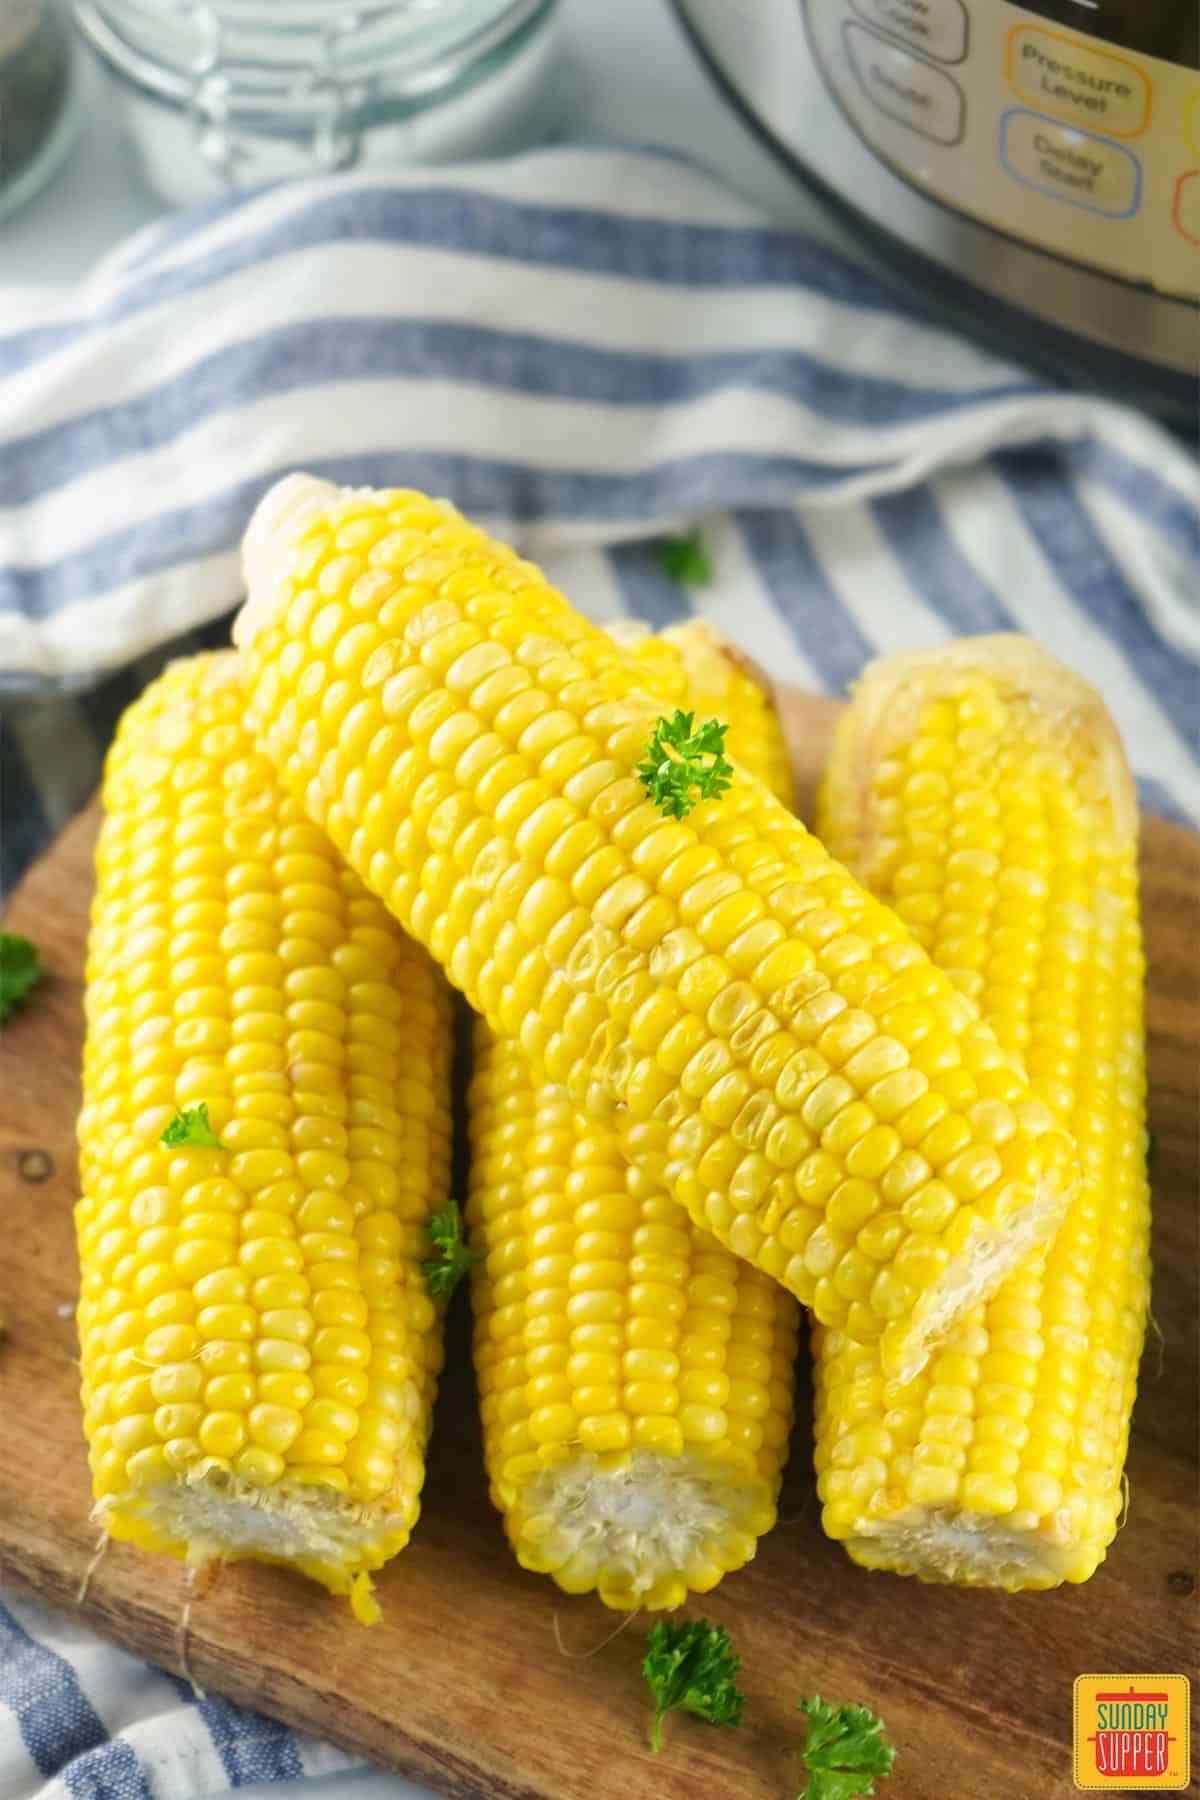
Once you try making Instant Pot Corn on the Cob, I guarantee you will not want to make it any other way! Ready in just 15 minutes with plump and juicy kernels every time, you can set the corn in the pot and leave it while you prepare the rest of your meal. No need to keep an eye on it!
Jump to:
- Pressure Cook Corn on the Cob
- Corn on the Pressure Cooker Ingredients
- Instant Pot Corn Recipe
- Pressure Cooker Corn on the Cob Tips
- Instant Pot Corn on the Cob FAQs
- How to Pick the Perfect Ear of Corn
- How to Store Cooked Ears of Corn
- How to Reheat Instant Pot Cooked Corn
- Corn on the Cob Toppings
- Corn Recipes
- Recipe
- Reviews
Pressure Cook Corn on the Cob
There are so many variations on cooking corn on the cob, from boiling, to grilling and roasting. Of all the methods, my favorite way to prepare it quickly and easily is by making Instant Pot Corn on the Cob! It’s stress-free, simple, and takes just minutes.
I frequently cook corn in my Instant Pot for soups, salads, and, of course, just to enjoy corn on the cob by itself. You can easily cut the cooked kernels off the cob and use them in your favorite recipes, like Texas Caviar, Chicken Chili, or Mexican Layer Dip.
For an easy and reliable side dish, you can never go wrong with pressure cooker corn on the cob. No more needing to boil a big pot of water to prepare your corn! I know you and your family will love this dish as much as I do.
Corn on the Pressure Cooker Ingredients
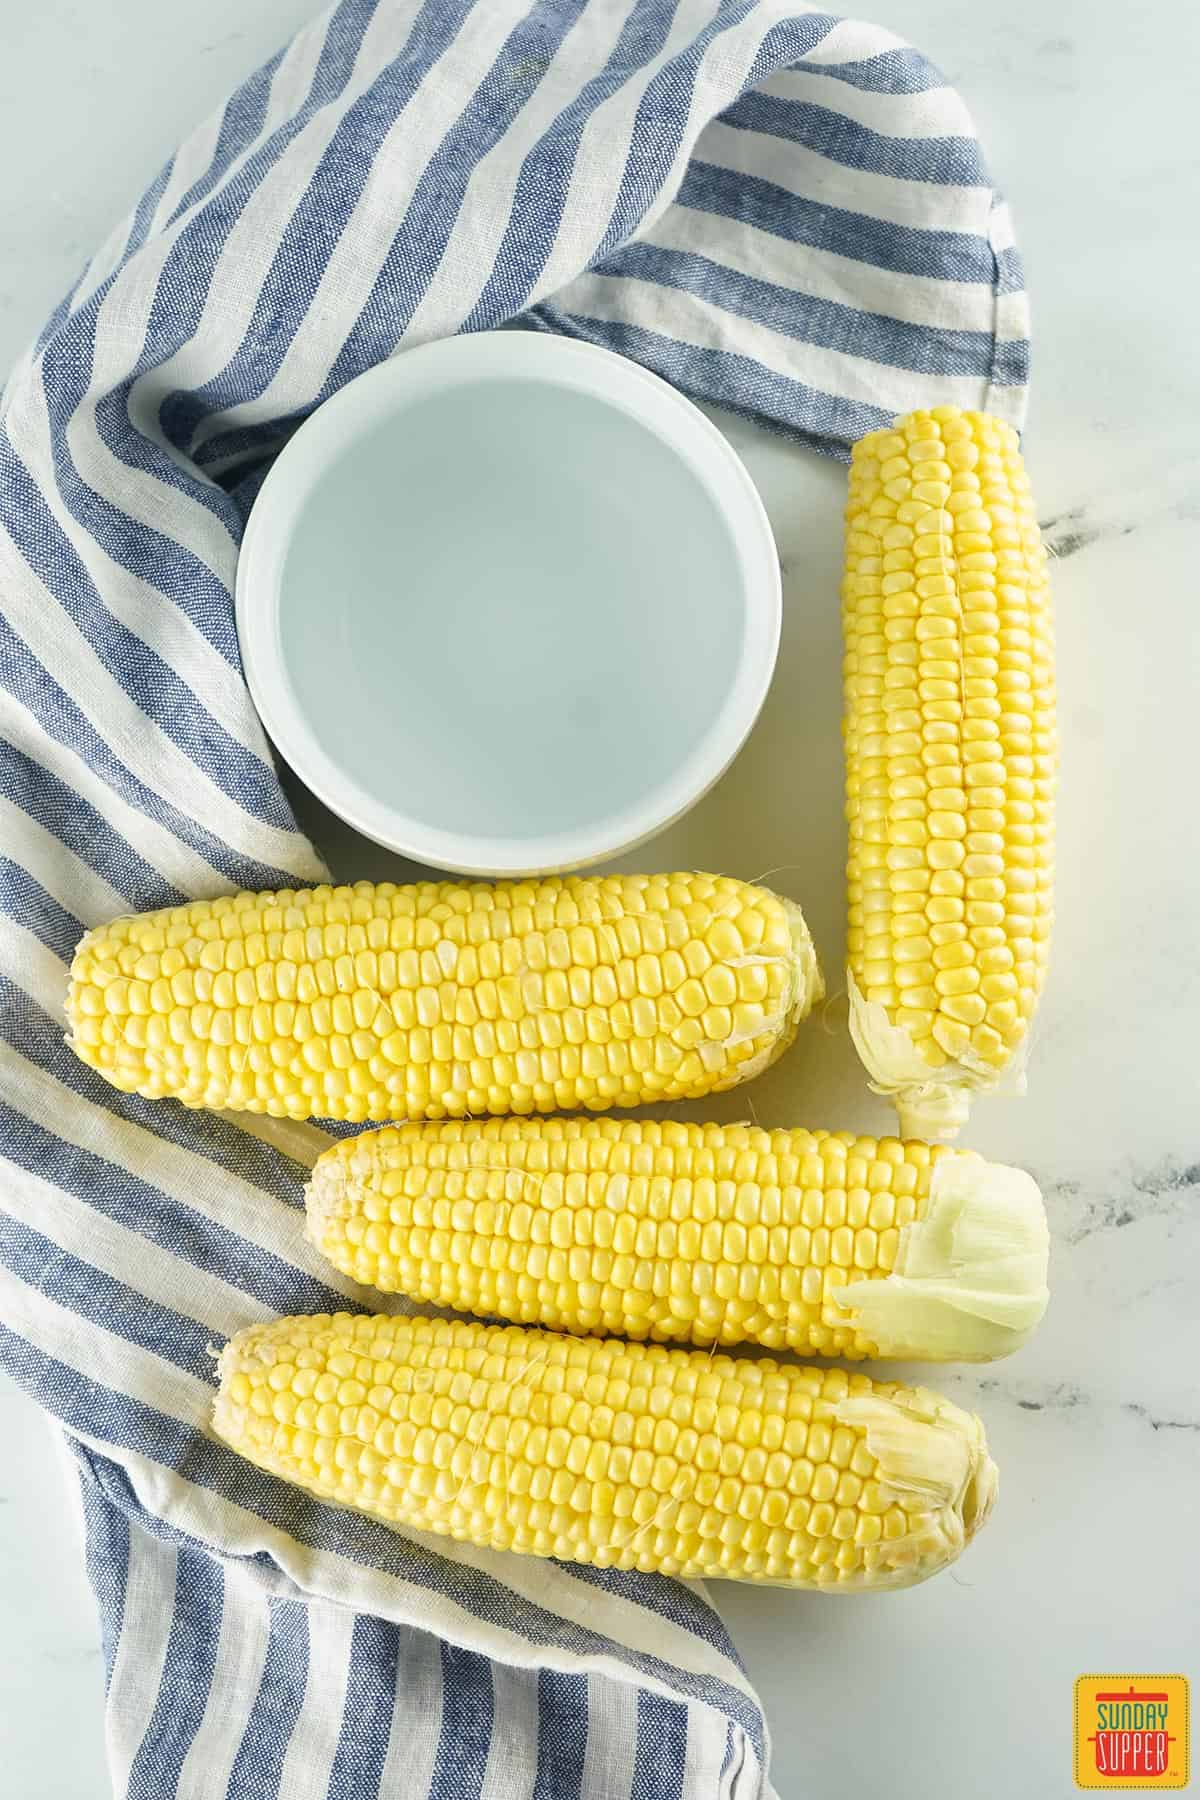
- Shucked corn on the cob
- Water
- salt and pepper to taste
All you need to make tender Instant Pot Corn on the Cob is corn and water. The really fun part comes in deciding how you want to dress up your corn after it’s done cooking!
My personal favorite is by slathering it in Garlic Butter Sauce, but there are so many options I’ll share with you.
Instant Pot Corn Recipe
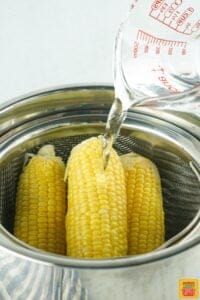
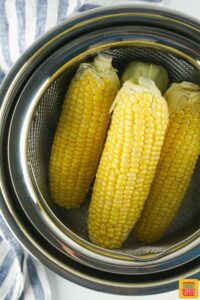
- Place your insert inside your instant pot and place the corn on the cob on top of it.
- Add the water and secure the lid.
- Place the pot on high pressure/manual and set the cooking time to 2 minutes. It will take about 5-10 minutes for the pot to pressurize and then the 2 minutes will start counting down.
- Let the pot naturally release in venting position for 5 minutes and then manually release it afterward.
- Remove the corn safely from the instant pot, dress, and enjoy!

Pressure Cooker Corn on the Cob Tips
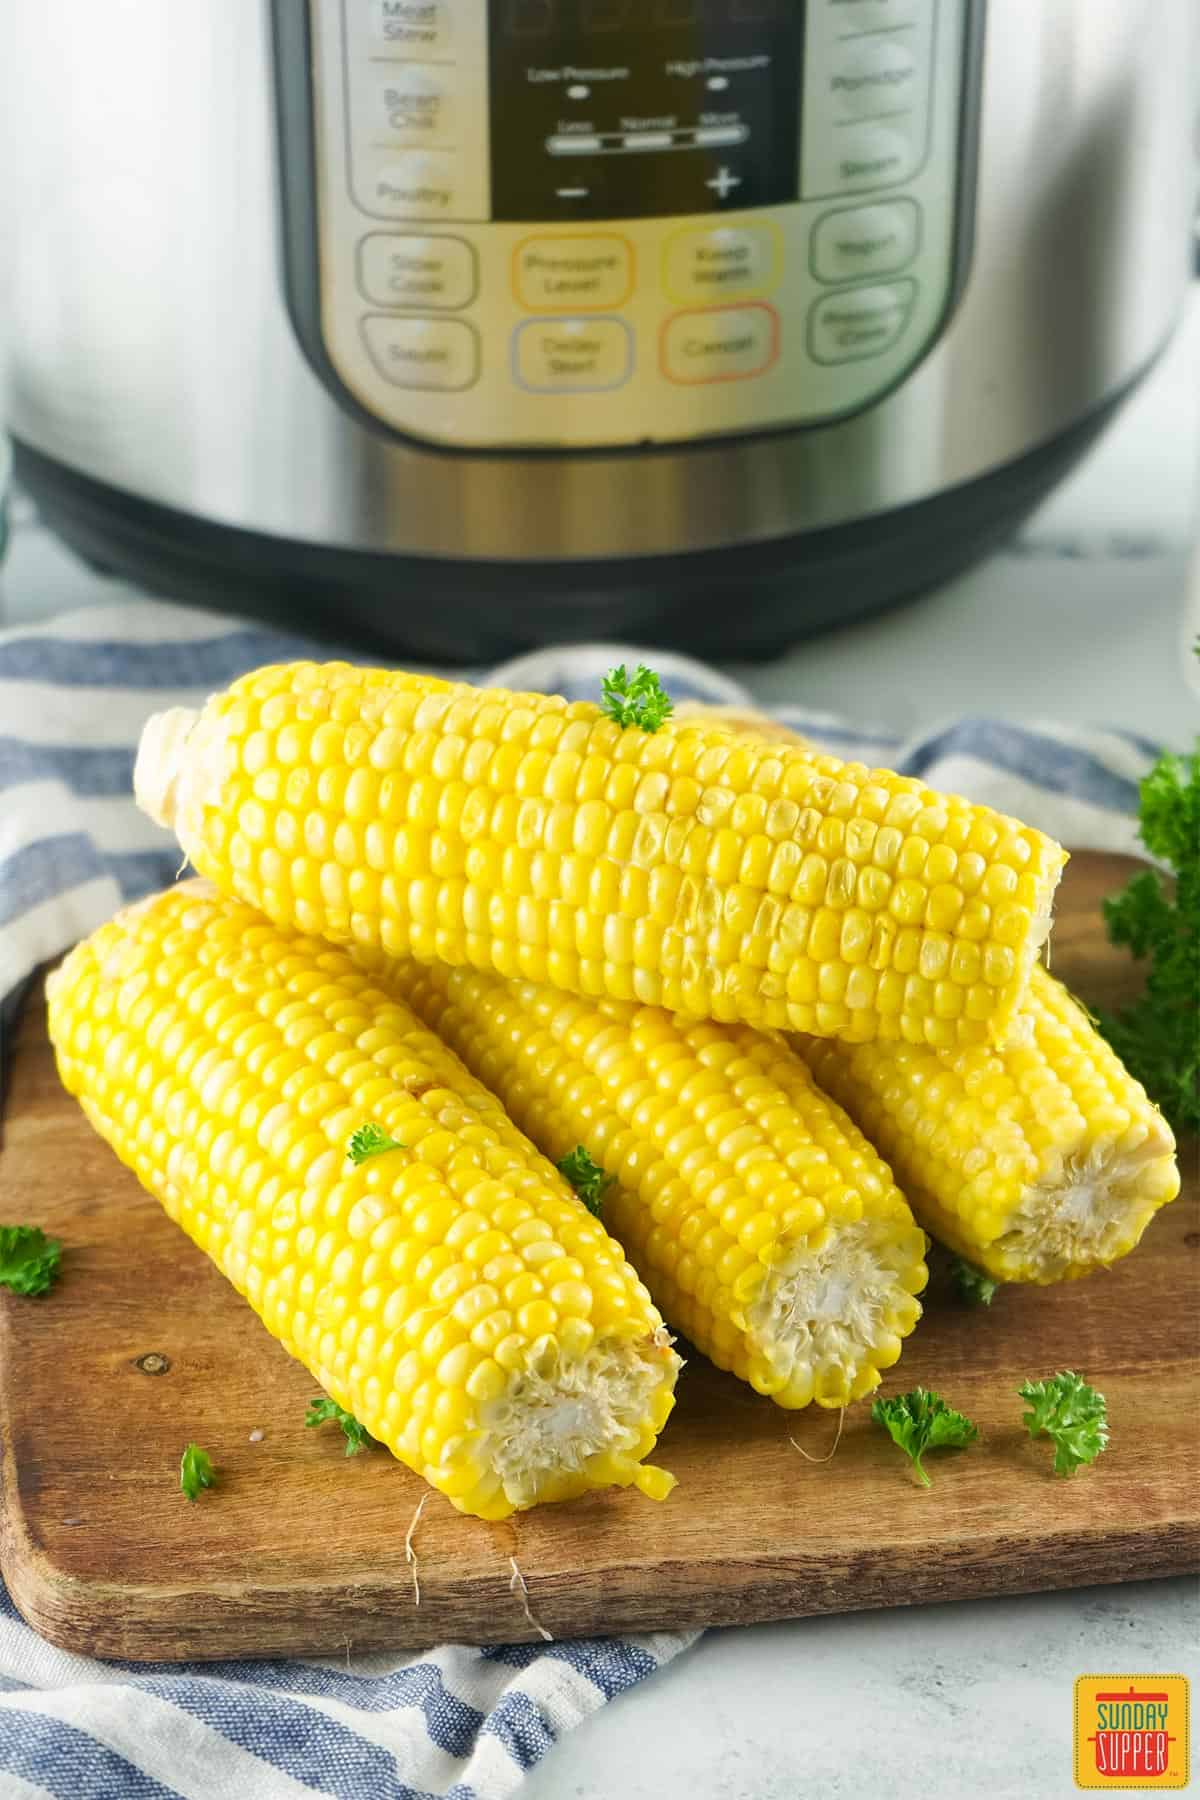
- Corn on the cob can be big, so if you want to cook full pieces, you will need a larger Instant Pot. The one pictured is 6 quarts.
- For smaller instant pots, you can slice your cobs into smaller chunks and cook it that way instead. Do not change the process or cooking time.
- I use a steamer basket, but the insert the instant pot comes with is just fine. You just don’t want the corn touching the bottom of the pot.
- For the best cooking results, arrange the layers of corn in opposite directions in your Instant Pot.
Instant Pot Corn on the Cob FAQs
You can cook as many cobs of corn as your Instant Pot can fit up to the fill line on the inside of the pot. For a 6-quart Instant Pot, I was able to fit 4 large ears of corn. In a larger pot, or depending on your model of Instant Pot, you may be able to fit more. For smaller instant pots, you can slice your cobs into smaller chunks and cook it that way instead. Do not change the process or cooking time.
It takes 2 minutes for corn to cook in the Instant Pot, though the pot itself will take 5-10 minutes to come to pressure and 5 minutes to release the pressure. At most, Instant Pot Corn on the Cob will take approximately 15 minutes from start to finish.
Although I recommend using fresh corn when possible to make Instant Pot Corn on the Cob, you may also use this method for frozen corn. To cook frozen corn cobs in the Instant Pot, set the pressure cooker to High Pressure for 4 minutes instead of 2.
How to Pick the Perfect Ear of Corn
It’s common practice to peel back the husk at the top of the corn to check for freshness and dampness, but there is no peeking required. Opening up the husk this way actually shortens the shelf life of your corn!
To pick the freshest ears of corn, follow these easy steps:
- Scan for bright green husks: The husks around corn should be wrapped tightly and may feel slightly damp. Avoid any corn with dry or pale yellow husks.
- Check for plump kernels: You should be able to feel for fresh, firm, and plump kernels through the husk. If there are any soft or empty spots, move on to the next.
- Look for insect holes: If you can see any small brown holes in the husk, this indicates your corn may be infested. Avoid corn with these holes.
- Inspect the tassels: The tassels on corn are the silks that are sticking up out of the top of the husk. Look for brown or golden-colored tassels that are sticky to the touch. Avoid any black or dry-looking tassels.
How to Store Cooked Ears of Corn
You can easily store cooked corn on the cob to serve later! After cooking, store your corn on the cob in a shallow airtight container or wrap it tightly with aluminum foil or plastic wrap.
Once your corn is properly stored, cooked corn on the cob will last up to 3 to 5 days in the refrigerator. Or, tightly wrap and place your cooked corn on the cob in the freezer for up to 6 months.
How to Reheat Instant Pot Cooked Corn
To reheat cooked corn on the cob, simply place the corn on the cob in a bowl with enough water to cover the bottom of the bowl. Microwave on high for 30-45 second increments, or until the corn is hot.
Alternatively, you could reheat your cooked corn on the cob back inside the Instant Pot. Set the corn on the trivet with 1 cup of water in the bottom, and cook on high pressure for 2 minutes. Quick-release the steam, and enjoy!
Corn on the Cob Toppings
- Garlic Butter Sauce: This combination of butter with garlic and fresh herbs makes an incredible topping for corn on the cob. Melt it over the top and enjoy.
- Lemon Butter Sauce: Another awesome butter topping for corn is my lemon butter sauce recipe. This lemony, garlicky sauce pairs deliciously with freshly cooked corn.
- Elote: Elote topping is an excellent way to serve corn on the cob. This mixture of Mexican-inspired flavors, cotija cheese, mayonnaise, lime juice, chili powder, and cilantro, is sure to impress.
- Simple Parmesan Topping: Top with olive oil or butter, then sprinkle parmesan cheese over top of your corn.
- Peri Peri Corn: Peri Peri Sauce is an unbelievably tasty topping for corn on the cob!
Corn Recipes
- Corn Riblets
- Corn on the Cob Seasoning
- Street Corn Casserole
- Grilled Corn on the Cob
- Mexican Street Corn
Recipe

Instant Pot Corn On the Cob
Equipment
- 6-Quart or Larger Instant Pot
- Instant Pot Insert or Steaming Basket
Ingredients
- 4 Corn On the Cob shucked
- 1½ Cups Water
See my Cooking Conversions Chart for help converting measurements!
Instructions
- Place your insert inside your instant pot and place the corn on the cob on top of it. Add the water and secure the lid.4 Corn On the Cob, 1½ Cups Water

- Place the pot on high pressure/manual and set the cooking time to 2 minutes. It will take about 5-10 minutes for the pot to pressurize and then the 2 minutes will start counting down. Let the pot naturally release for 5 minutes and then manually release it afterwards.
- Remove the corn safely from the instant pot, dress, and enjoy!

Notes
- Corn on the cob can be big, so if you’re wanting to do full pieces, you’ll want a larger instant pot to work with. The one pictured is 6 quarts.
- For smaller instant pots, you can slice your cobs into smaller chunks and cook it that way instead. Do not change the process or cooking time.
- I use a steamer basket, but the insert the instant pot comes with is just fine. You just don’t want the corn touching the bottom of the pot.
Comments
No Comments